Creating a Flow
Creating your first Automation Flow on the SnatchBot platform.
The functionality is available only if you have at least one Pro bot with $199 and higher plans in your account.
Free users can start a 14-day free trial.
Automations flows and Collaboration
Automations flows are not available if you are using only shared Pro bots.
Build
To begin the process of creating your first Automation Flow, select Automation Flows from the options on the left of the screen, then click on Create Flow :
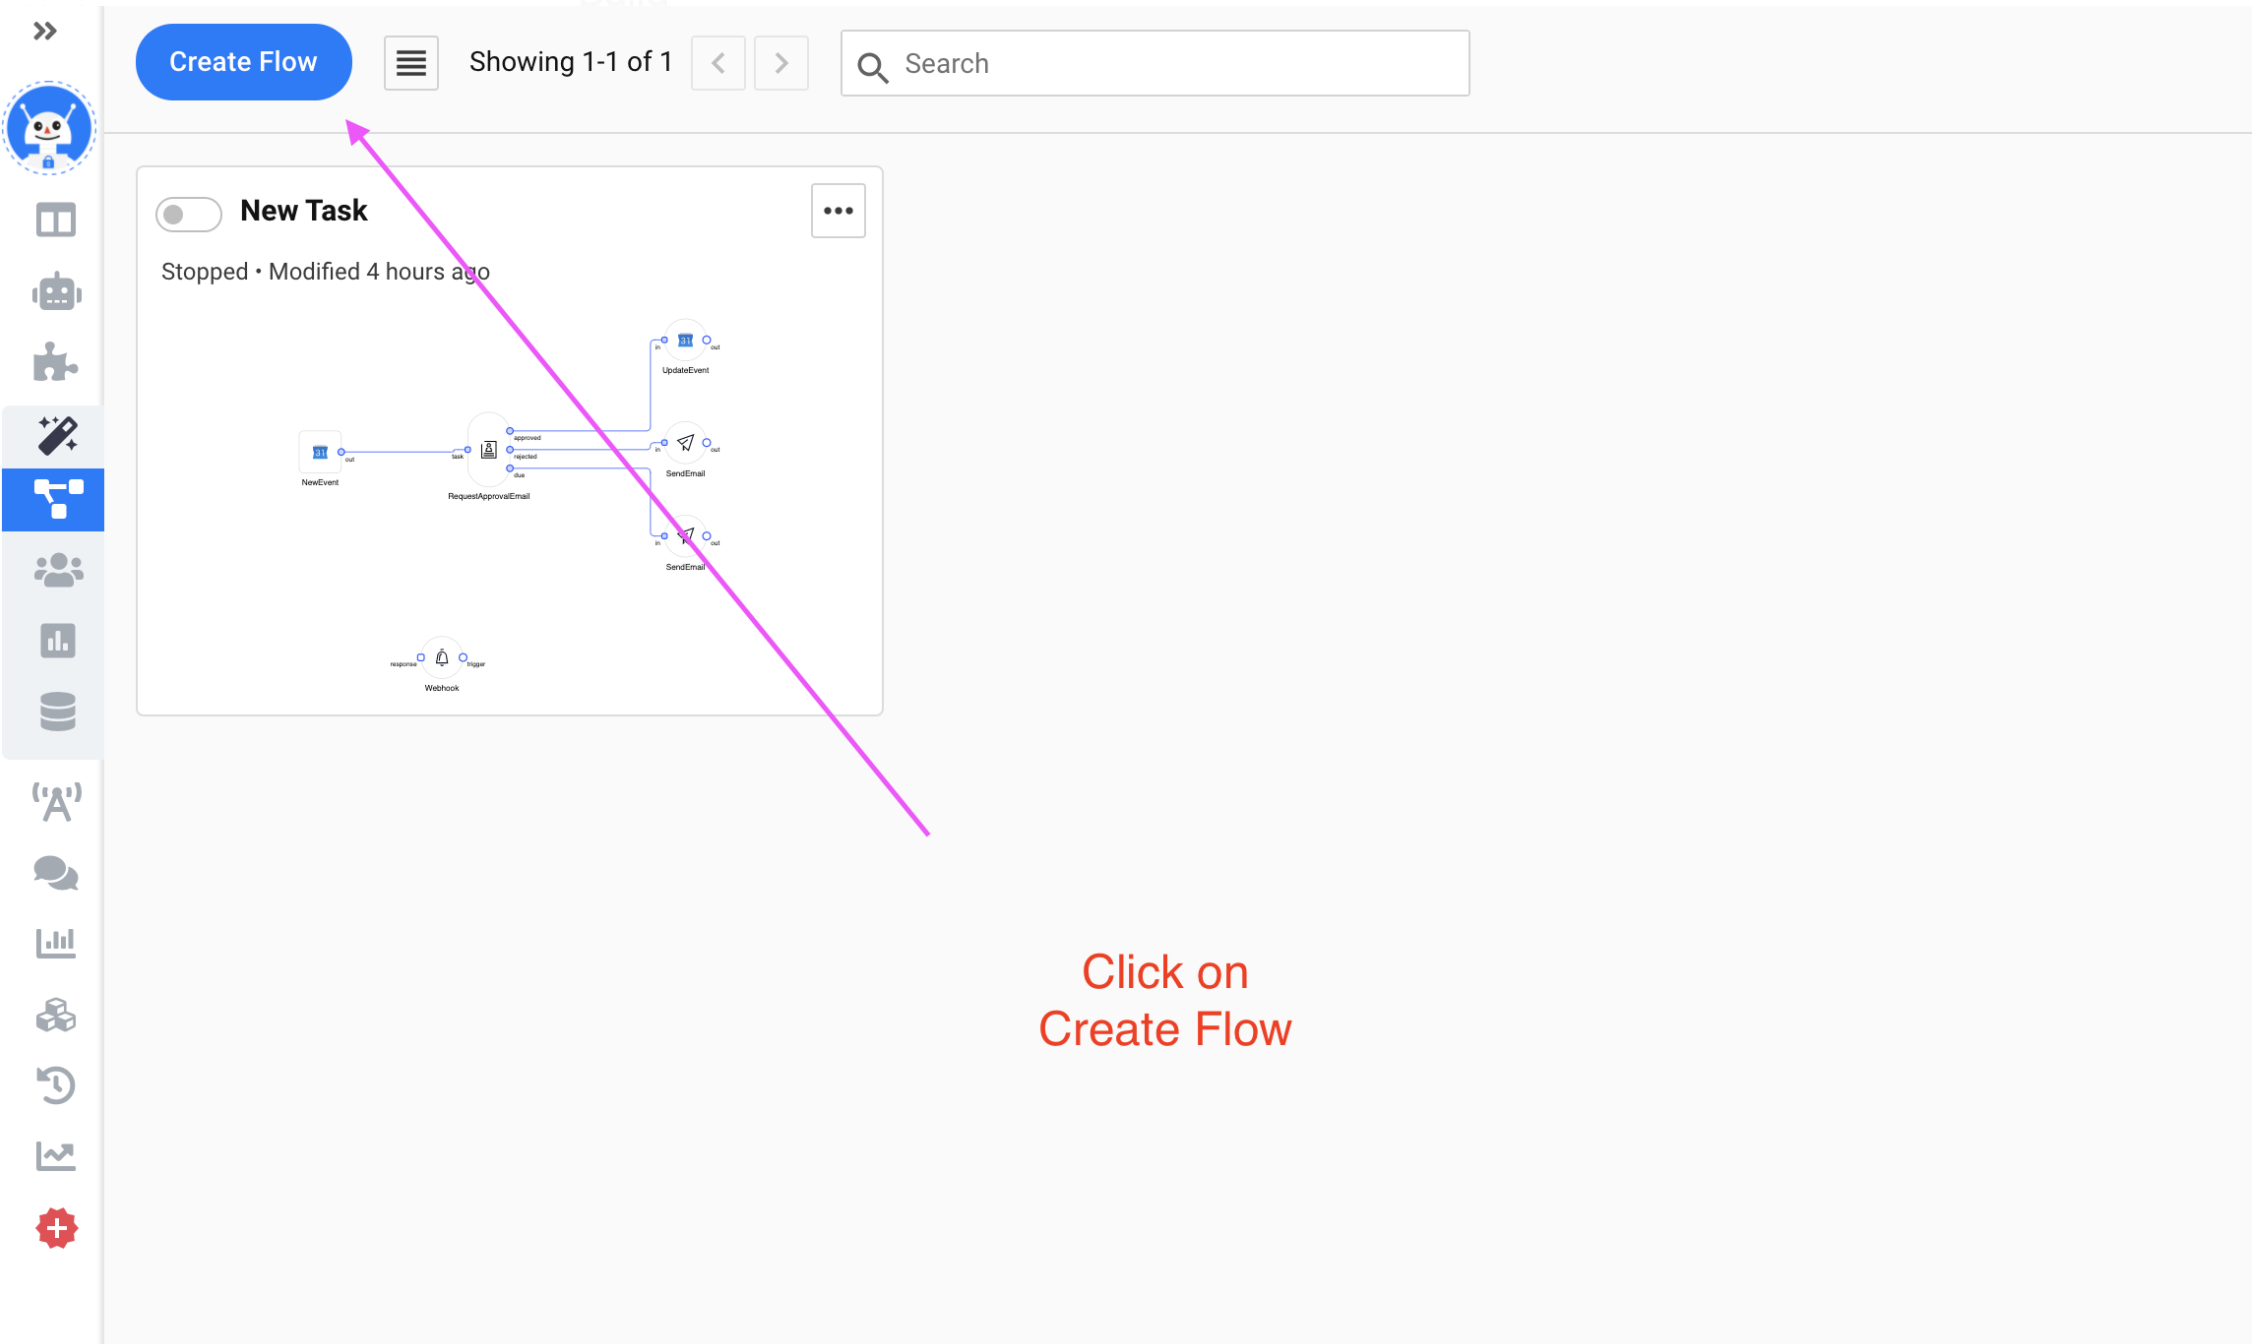
Create a Flow
To create a new Flow press New Blank Flow:
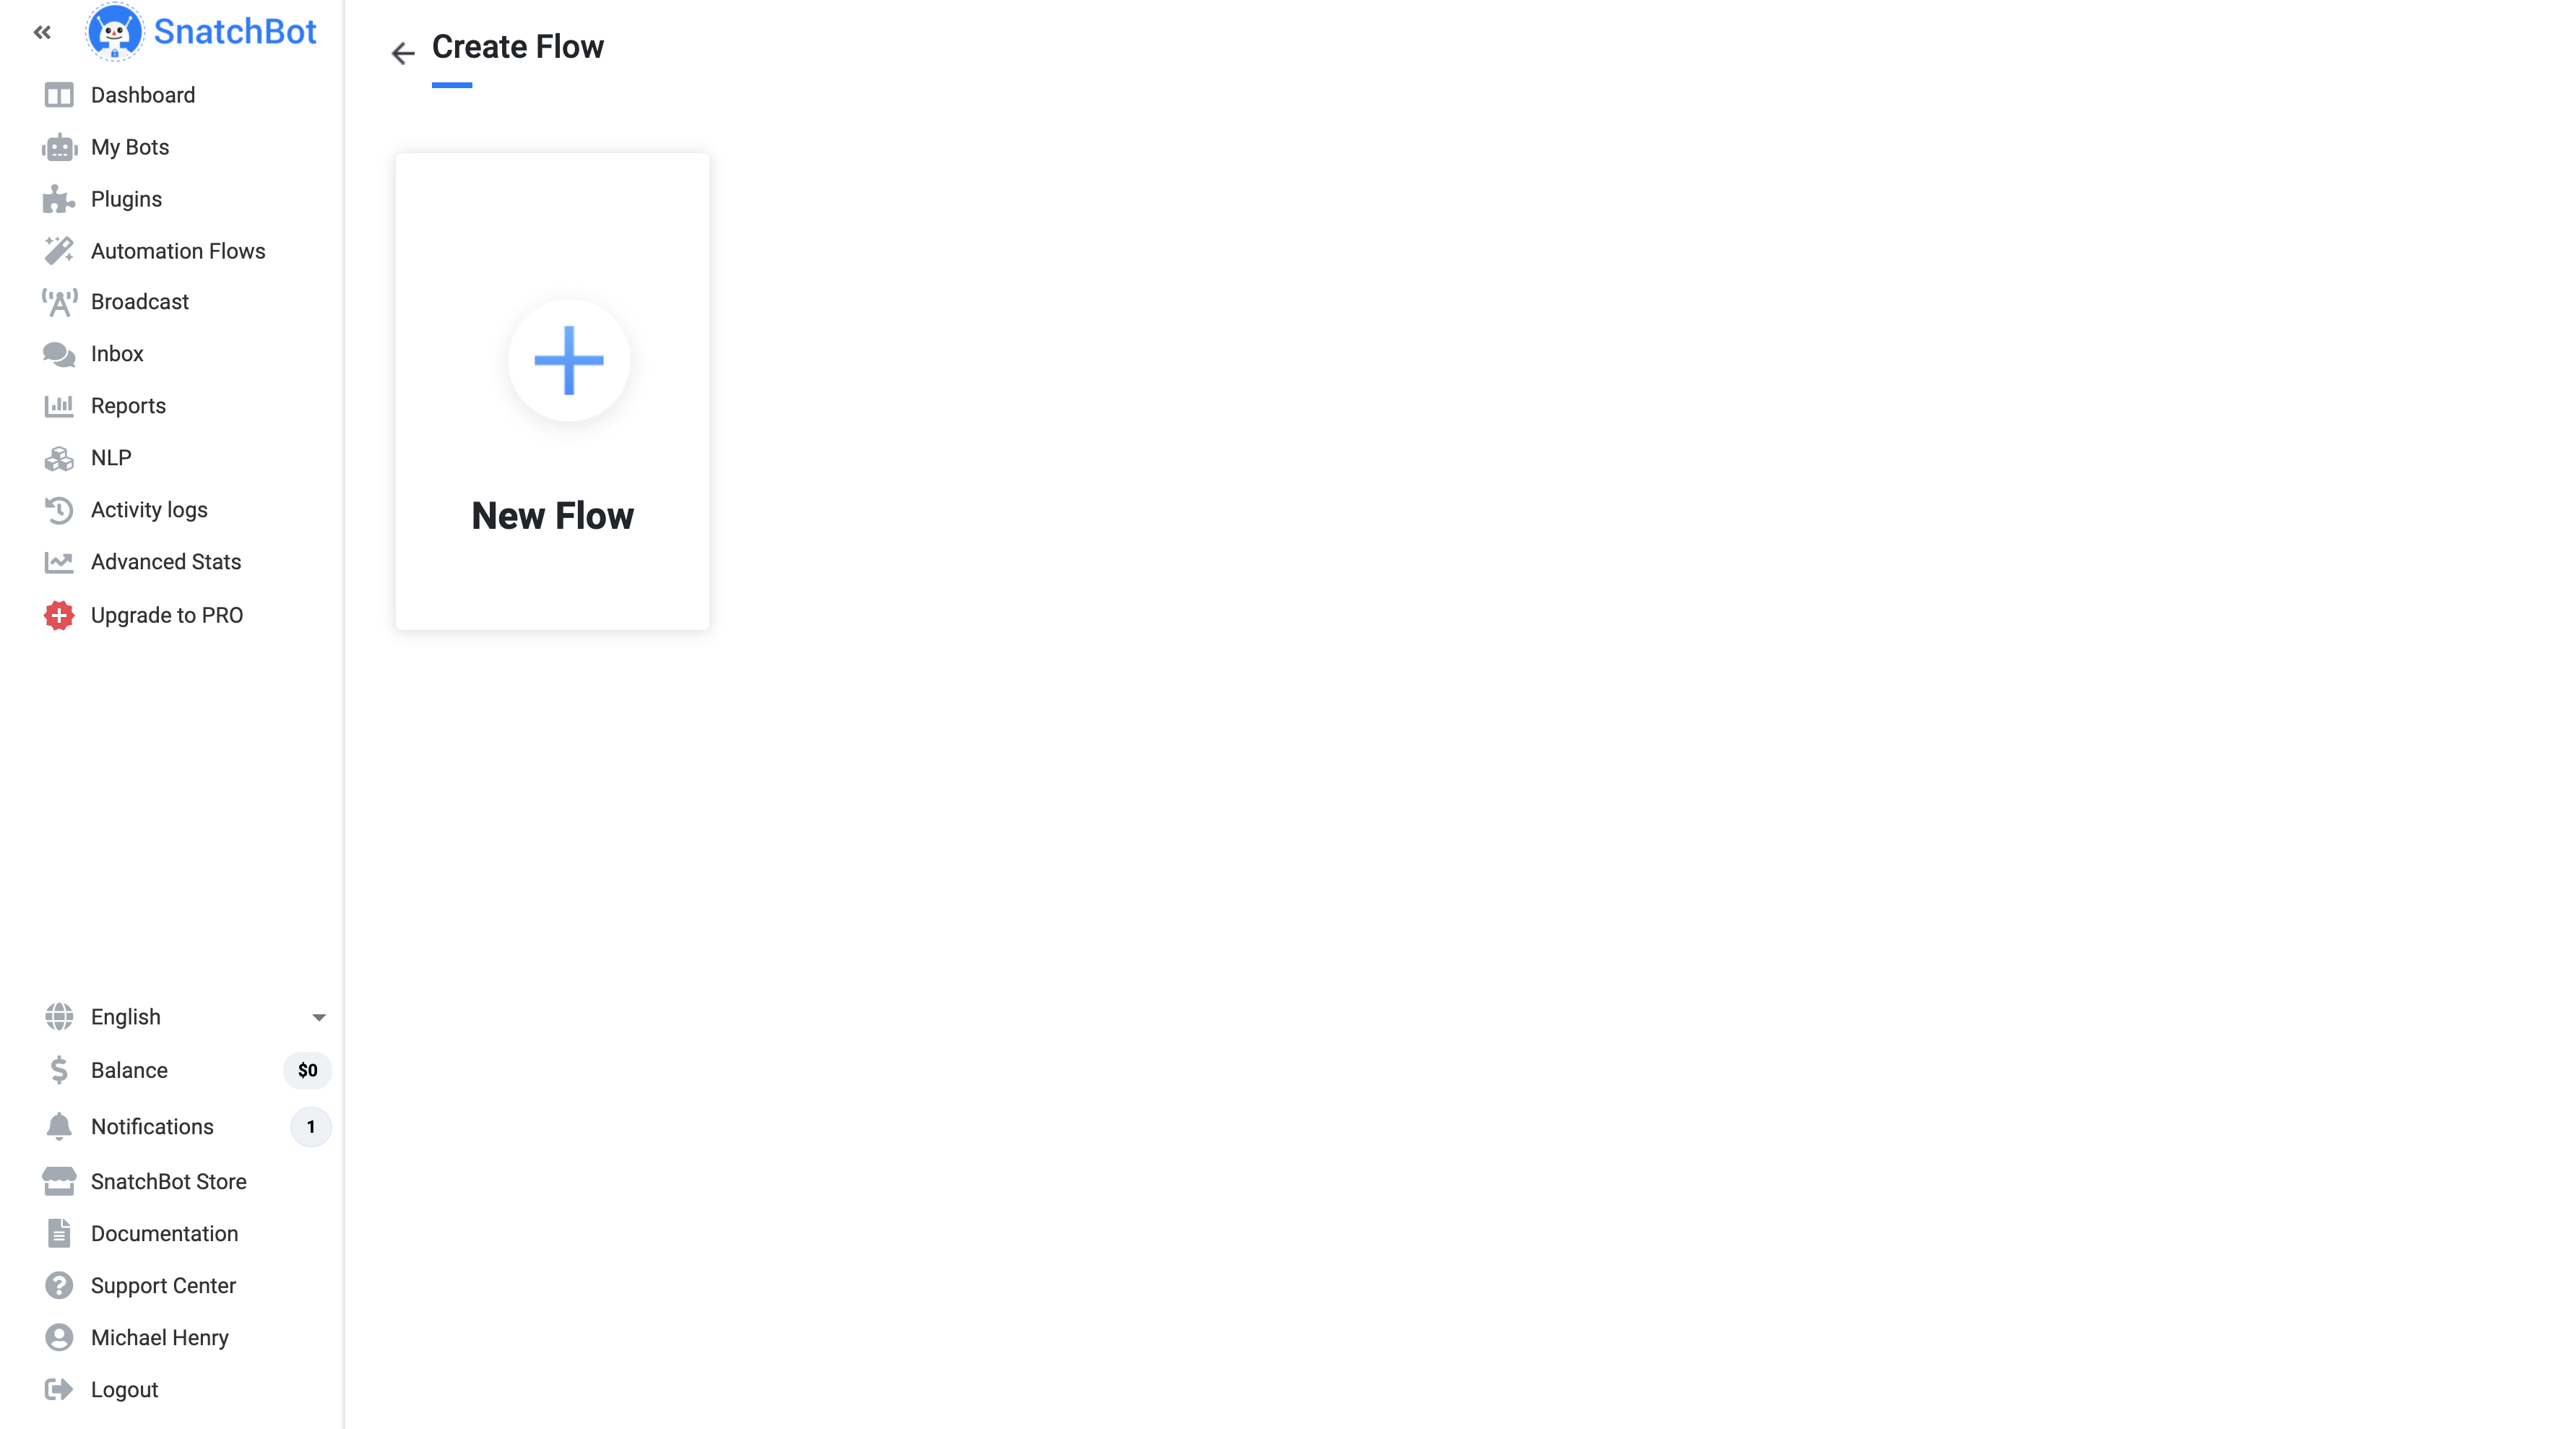
Add New Blank Flow
Category
Next, comes the real fun, you have a flexible and powerful range of choices for what you want the flow to do, without your needing any programming skills. By default, components are divided into two categories "applications" and "utilities".
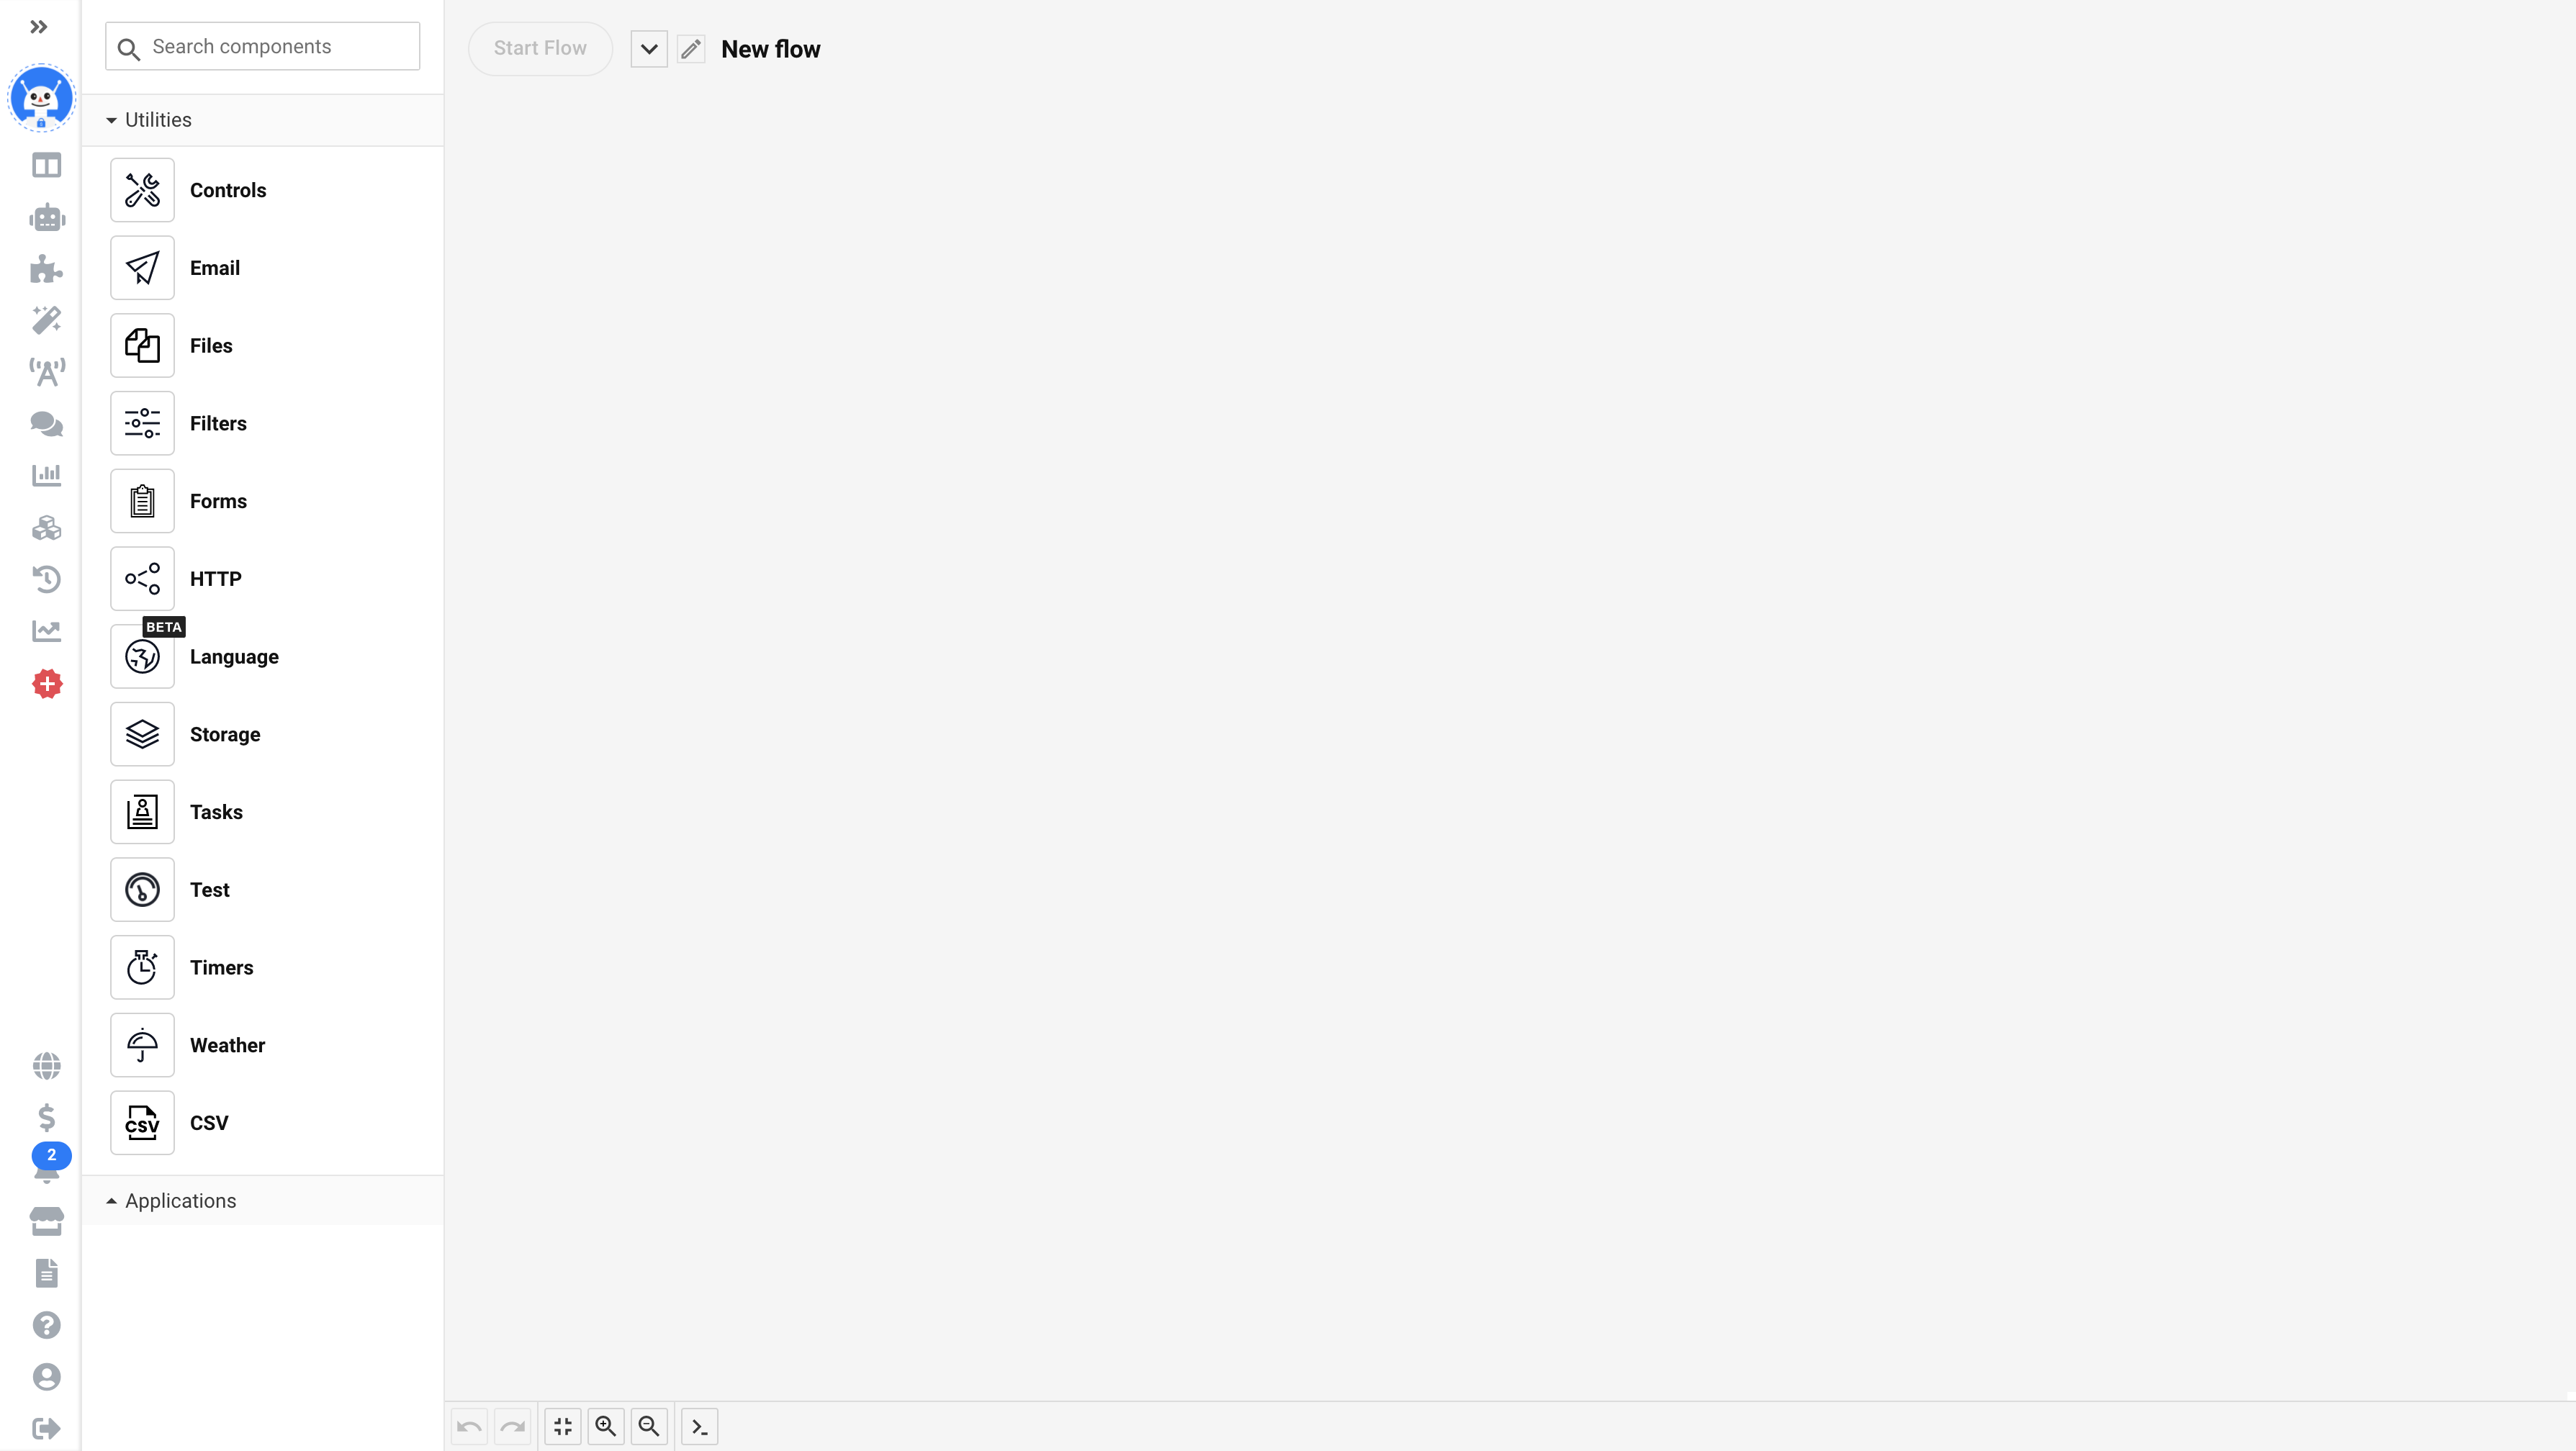
Utilities components
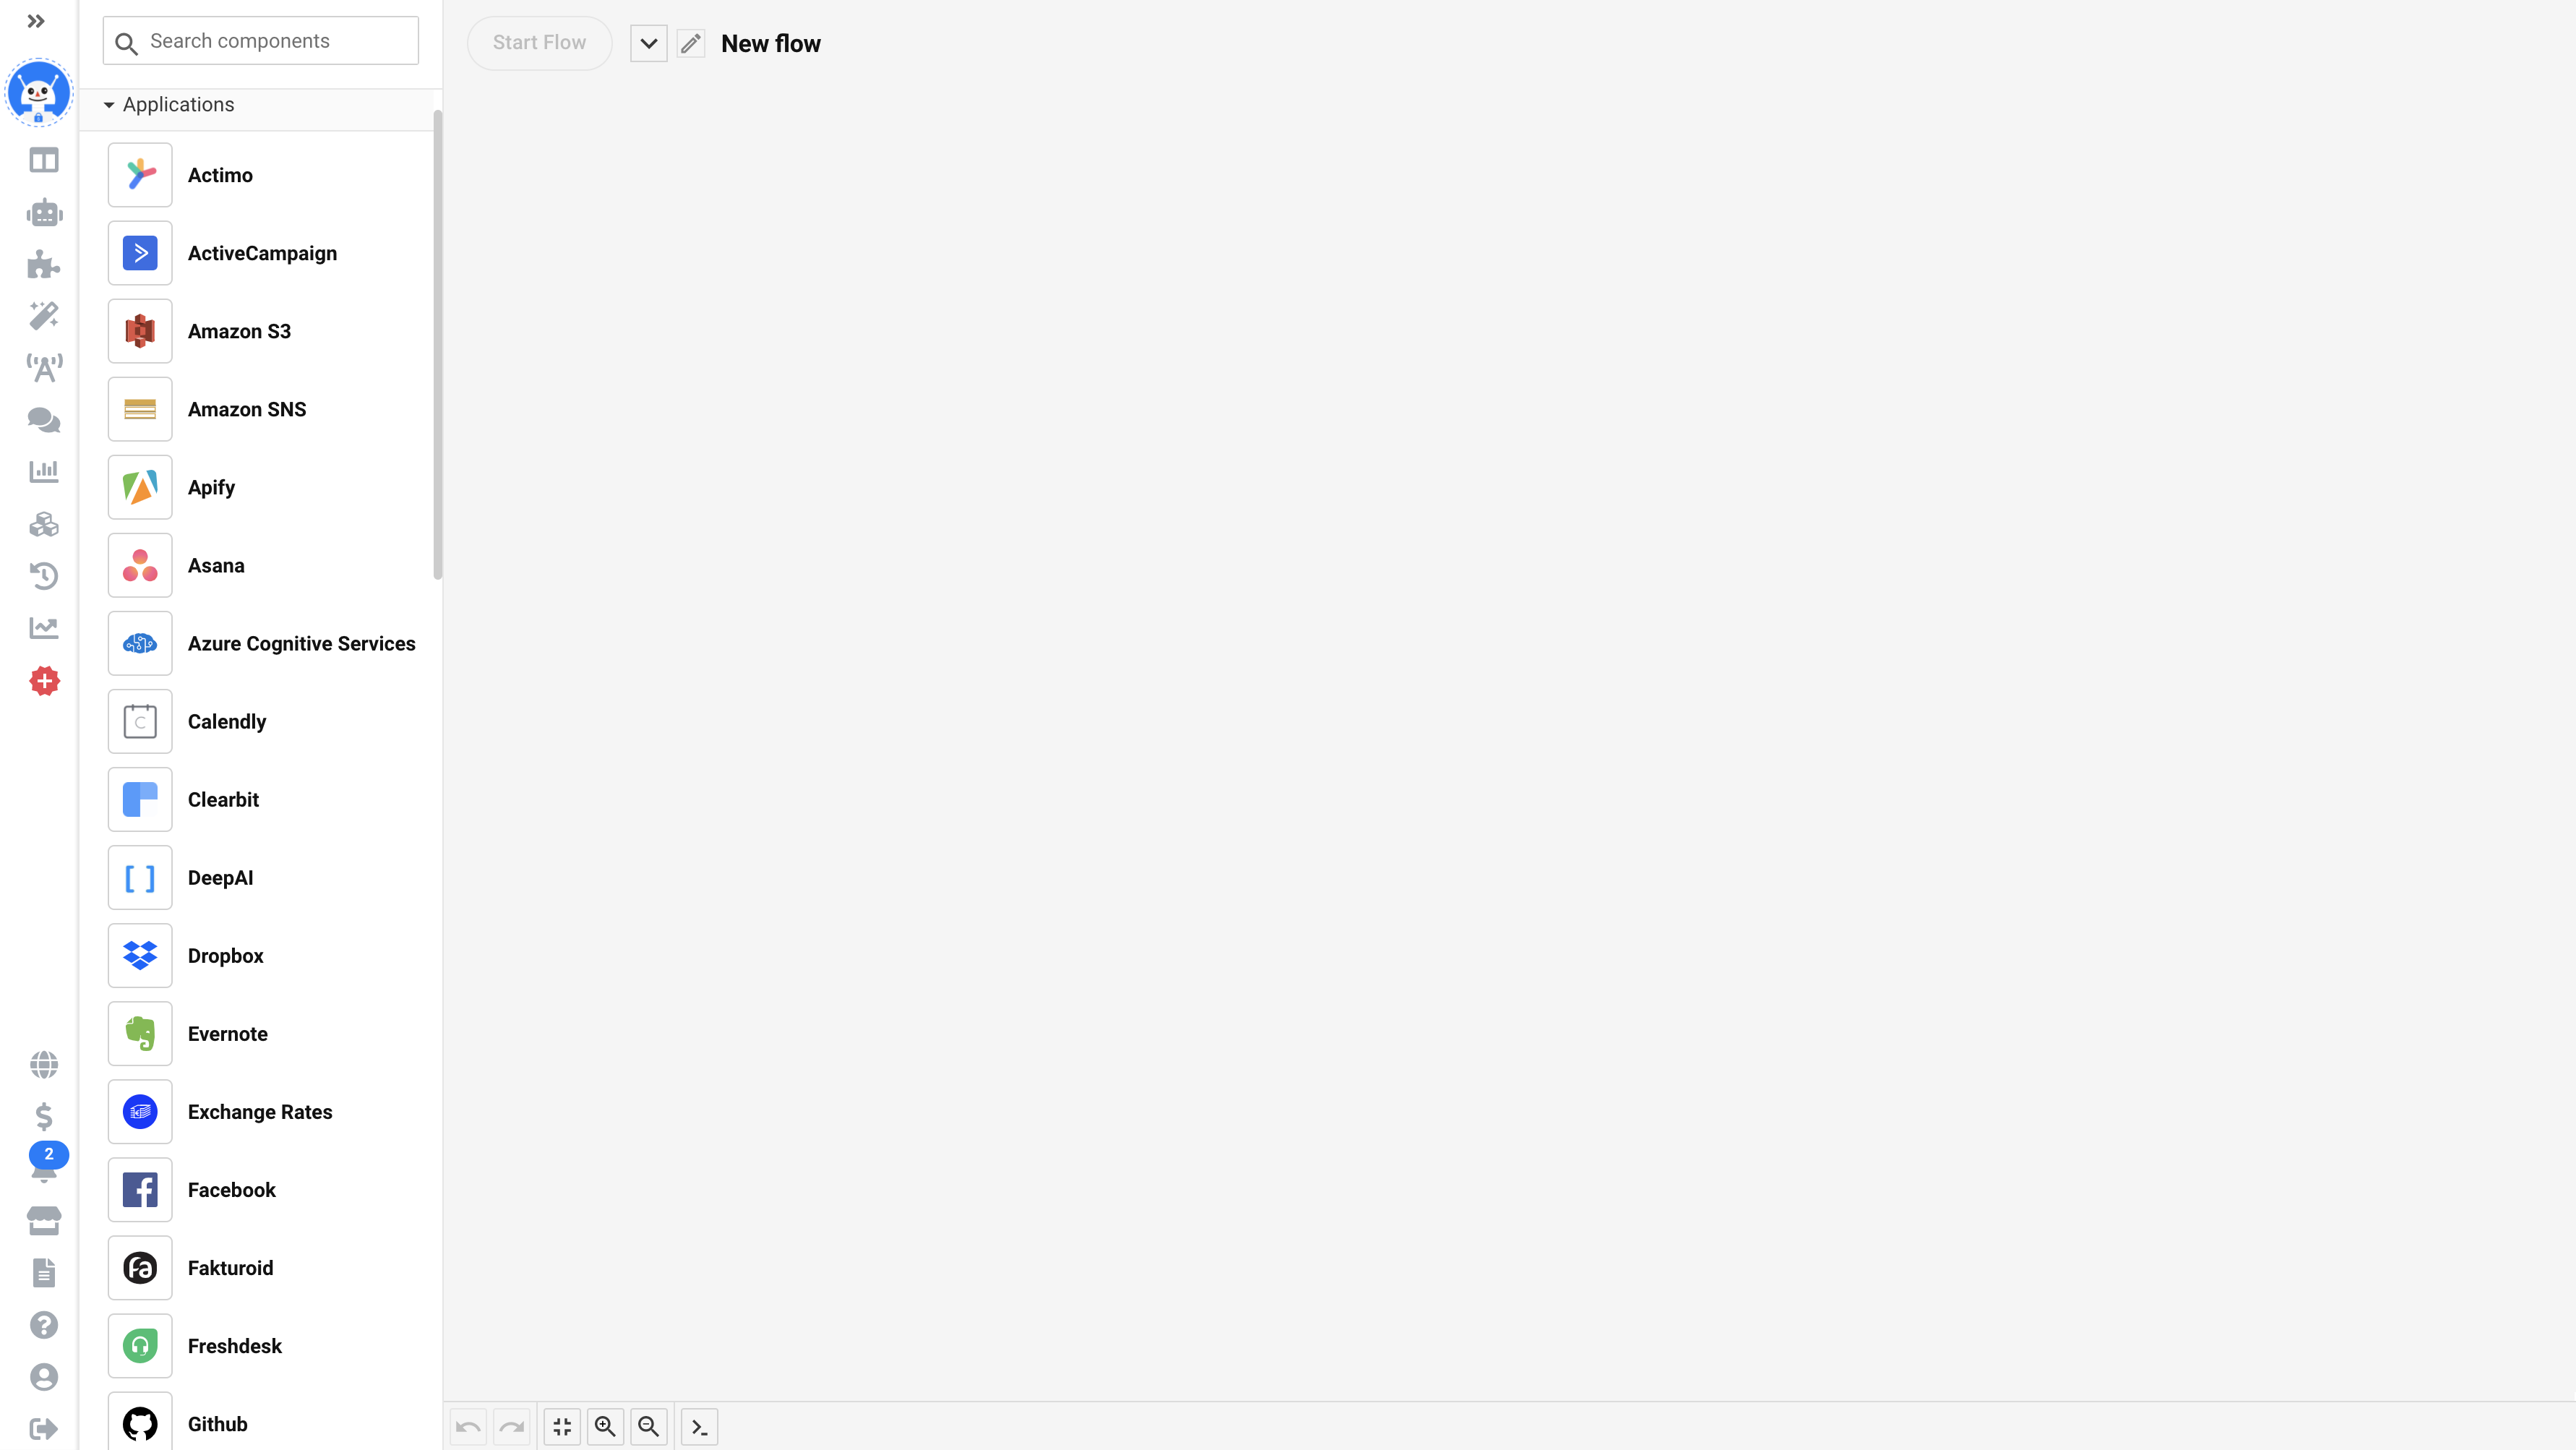
Applications components
What is a flow?
A flow is a set of components that are connected to each other in order to perform different business tasks. Flows can be designed in the drag&drop visual automation flow builder.
A component is a single action or condition that you have to add and configure in accordance with your flow. Components perform the following tasks: reacting to events, transforming incoming data, making decisions, performing actions, storing data and/or loading data to external systems.
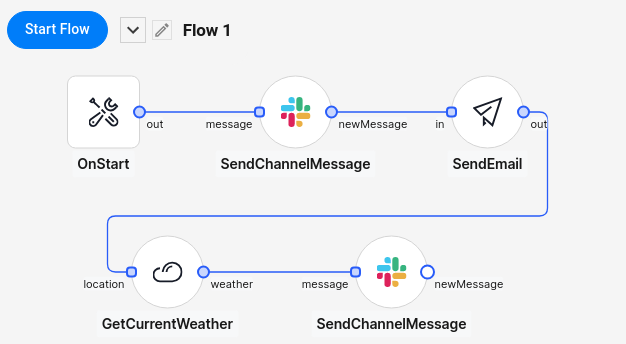
Flow Example
Take a look at a simple flow, which consists of 2 components: Google Sheets and Email.
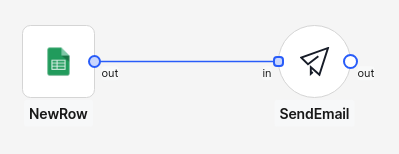
Let’s fill the settings as follows:
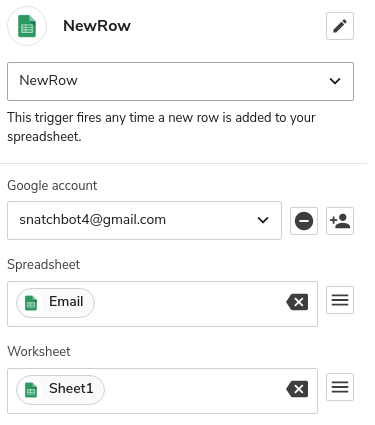
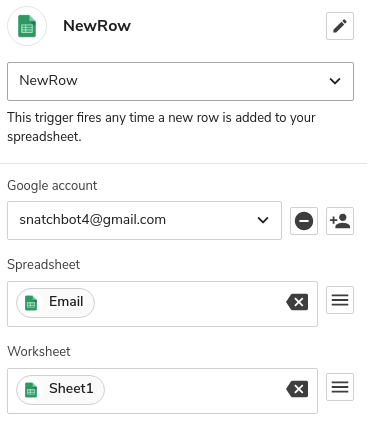
Google Sheets:
NewRow. This option will trigger the flow, once a new entry has been added to the Email spreadsheet of the selected worksheet:
Email
SendEmail - sends a message to the specified email address once the component is triggered. In the Text field we add the Email variable from the previous component:
Testing
Click Start flow at the top of the page.
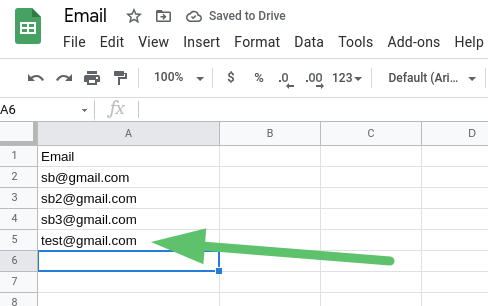
Now, let’s add a new email to the spreadsheet:
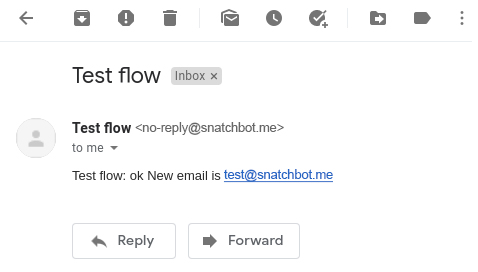
After a while, the system will send a new message to the specified email address:
Accounts
Here is the list of all accounts being used in automation flows.
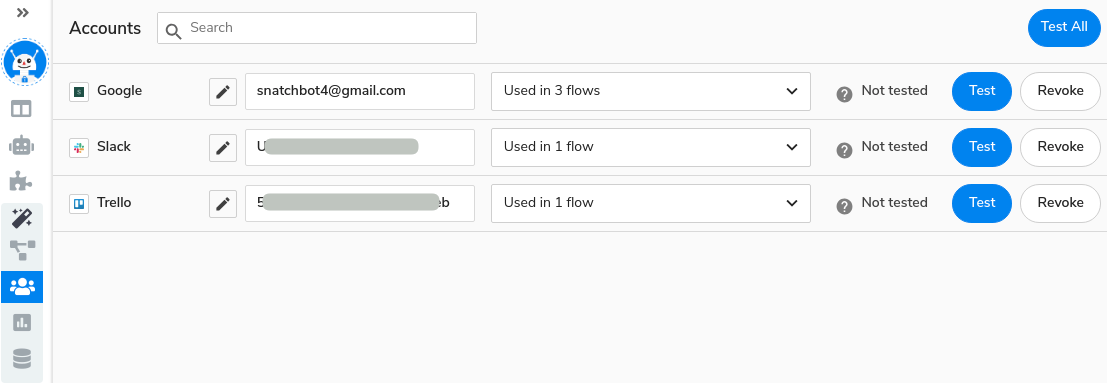
Available actions are:
- Rename account;
- Test account;
- Revoke account;
- Note that the system automatically stops all the flows the removed account was used in.
- Search your accounts;
- See a list of flows the account is used in.
Insights
This section contains logs of the actions performed in your flows.
Storage
Here is a database that contains data for the Storage component.
The system provides a built-in key-value database that you can use to store data permanently. Keys and values can be any type of text.
This is especially useful if you want to store e.g. orders, contacts, emails, calls or any other data permanently right inside the flow builder.
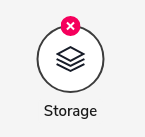
Storage component in the flow builder:
How to integrate a flow into a bot?
You can add a webhook into your bot, so when a user goes to the particular interaction the system will trigger the WebHook (HTTP) component and activate the flow.
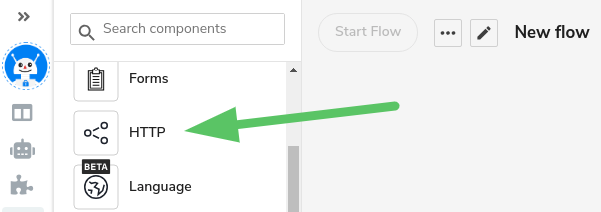
- Open the Flows section and select the HTTP component:
- Select WebHook in the component settings in the right column.
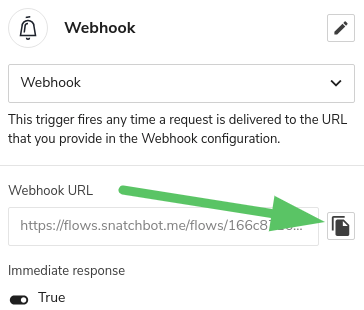
- Click Start Flow and copy WebHook URL to the clipboard. If you don’t start the flow, the system will return the 400 error in the Build section later.
- Go to the Build section and create a connection, for example, a Fallback connection, and add the WebHook:

Now, every time a user triggers this connection, the system will activate the pre-set flow.
Updated almost 3 years ago
Easy-to-use visual workflow automation system. With Automation Flows, you can spend less time customizing integrations. Create tasks, connect services and save your valuable time.
