Channels and Webchat settings
Connect your bot to your desired channels.
By channels, we mean the various platforms that allow people to communicate across the globe, including websites, email, SMS exchanges, messaging apps, etc.
One of the great features of SnatchBot's service is that from the outset we were determined that our chatbots should be omnichannel. You only have to build a chatbot and it is easily made live on all the different channels.
There are 13 channels available and we consistently add more over time. Each channel has its own method of connection.
Use the toggle to activate/deactivate a channel.
To connect your bot to your desired channel(s), select your bot and click Channels:
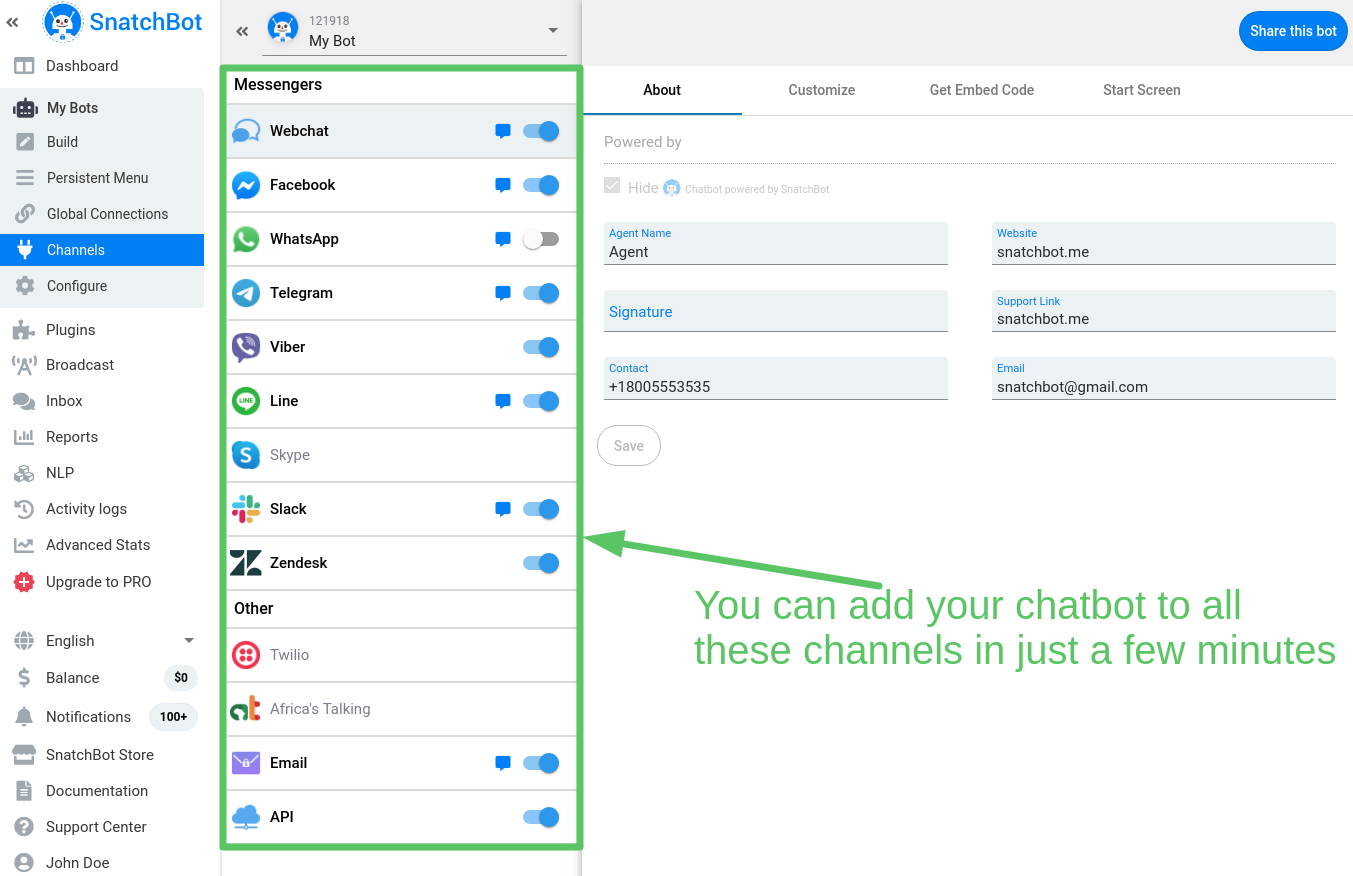
Each channel has its own way of connecting bots, but we've made the process straightforward. Follow the steps in the channel settings and your bot will be connected in no time.
Note
When you click on the links we have provided in the Channels page, you'll be taken to the relevant channel websites to put in your name, login, etc. Basically, what you are doing is registering with them and getting a set of OAuth keys that SnatchBot can use on your behalf.
Once you are done, try sending yourself a message through your channel (e.g. Facebook Messenger) and you’ll see how powerful a tool this is!
Webchat
The Webchat channel is pre-configured for you. You can start to use it right after you have created a bot. Also, you can embed a Webchat on your website or another service.
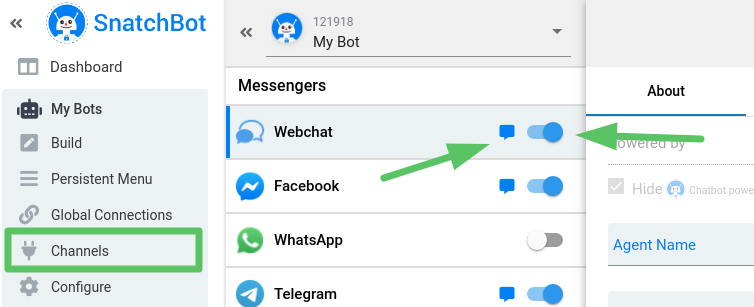
To launch the Webchat, open the Channels page and press the Chat button. Make sure that activation toggle is enabled:
You have to press "Get started" every time you start a conversation on Webchat.
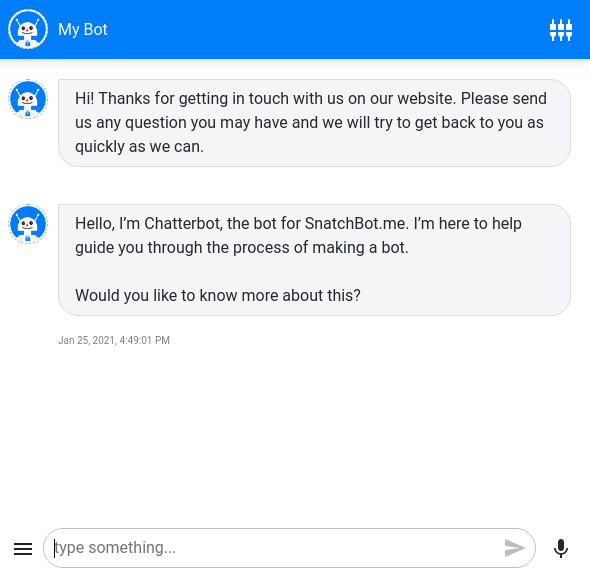
You can add the greeting message above the "Get started" button in the Customize tab:

The greeting message will appear as the first message in the chat, as well:
Webchat restrictions:
- Facebook attributes are not available
- Users can not subscribe to the RSS feed
Channel switcher
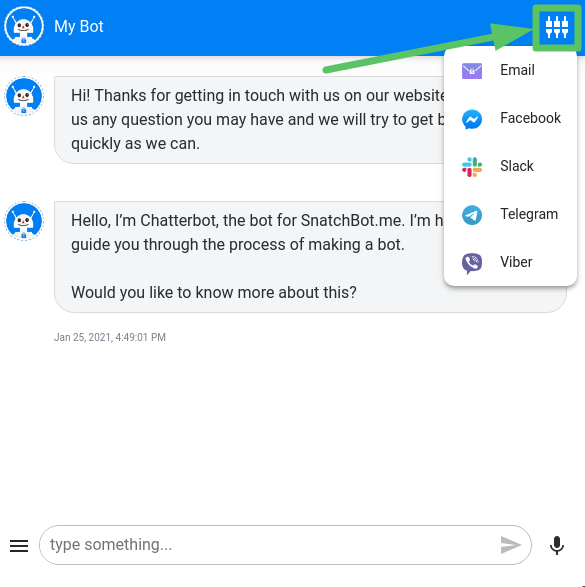
Webchat has a feature that allows users to switch to another channel and continue conversation from the same place they stopped at. Switch button is located in the header of the Webchat:
Webchat settings
There are 4 tabs: About, Customize, Get Embed Code and Start Screen:
1. About
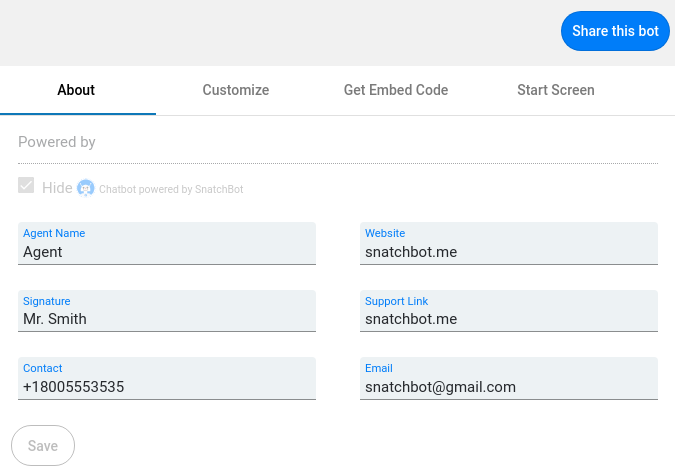
In this tab you can enter custom data for your bot:
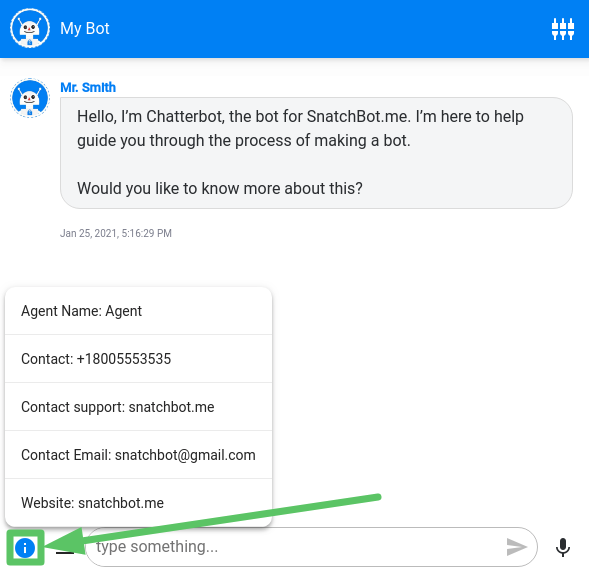
Users can find these in the left bottom corner of the Webchat:
2. Customize
Here you can customize the appearance of the Webchat, such as the color of message bubbles and theme style. Overall information on how to customize the look of the chatbot is available in the following guide.
3. Get Embed Code
You will find six features on this tab:
3.1 Google Analytics
You can set up tracking the data, which are sent from the Webchat.
You can choose whether SnatchBot or Google Analytics to track the data:
- I allow SnatchBot to track bot icon clicks
If you select the first option, then all the data will be stored on the SnatchBot platform. - I want to use my Google Analytics code to track the bot
To use Google Analytics you need to specify your ID in the field below.
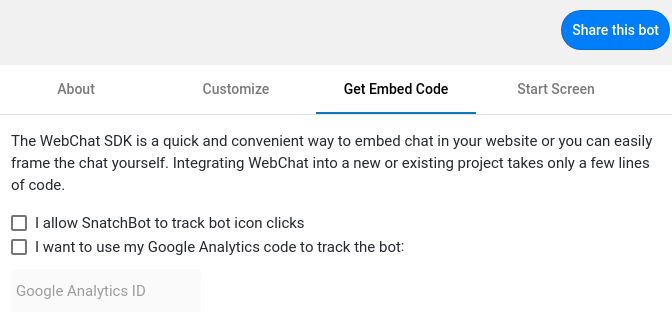
This feature is available only for PRO-bots.
3.2 Embed the Bot widget on your site.
Click here to open the guide.
3.3 Message counting mode
This option will affect the message count in Reports and Inbox, as well as the PRO-messages counting.
There are two options available:
- Count and create a chat only when the user has clicked on the bot icon: once a user has pressed the bot icon on your page and started a conversation, the new entry will be created in the Inbox and Reports sections.
- Count each page visit and create a chat: once a new user has opened your page, the new entry will be created in the Inbox and Reports sections.
Apply: save changes.
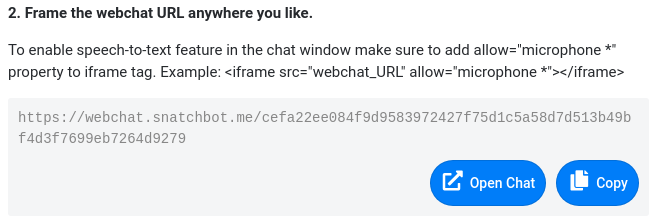
3.4 Frame the Webchat URL anywhere you like.
You can open the Webchat from this clause or simply copy the link to the clipboard:
3.5 Customize chat widget button with CSS.
Click here to open the guide.
3.6 Customize chat window with CSS
Click here to open the guide.
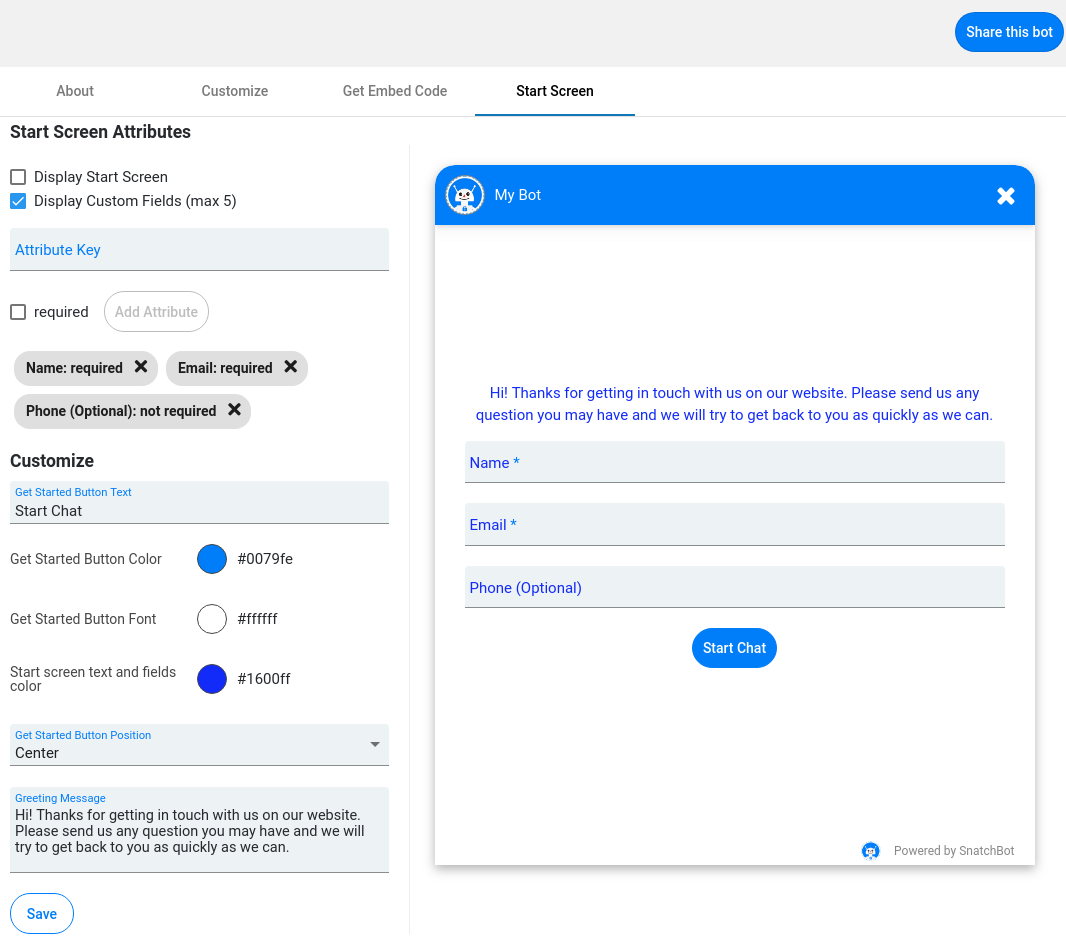
4. Start Screen
The Start Screen feature enables you to display an additional screen to users on Webchat before starting a conversation. On this screen, a user has to provide some information about themselves, such as email or phone number. You can make some fields obligatory or leave them as optional.
If you have set required fields, then a user won’t be able to press the Start Chat button and start a conversation until the required fields are filled.
Watch this video tutorial "Connecting Channels"
Updated almost 4 years ago
