Zendesk Chat
Deployment guide
Zendesk Chat messaging provides you with the flexibility to have live chats in real-time and ongoing conversations that provide a full conversation history at all times with your customers. Available through the Zendesk Suite, messaging gives your team the benefits of live chat software and more.
It is now possible to power the chat with SnatchBot and reduce the strain on your live agents and interact with your customers during off-hours.
Minimal requirements:
Zendesk Chat: Enterprise subscription
Zendesk Support Suite: Essential or higher subscriptionThe channel is available only for our PRO-bots. So you have to upgrade your bot to PRO-Plan with a monthly fee starting from $75 and higher.
Step 1. Create an account
Register at Zendesk and create your workspace, for example, snatchbot.zendesk.com (one workspace per bot individually).
Skip this step if you already have an account
Step 2. Meet the minimal requirements
Make sure your subscription plan at Zendesk meets the minimal requirements for the Chat API to work. You must have Support Suite (Essential or higher) and Chat (Enterprise).
You can activate a free trial and test your bot.
Step 3. Create at least two agent departments
In order to use both the bot and live agent experience, create at least two agent departments: one or more for your human agents, and one for the bot. It is not recommended to assign an agent to several departments to avoid issues on switching between a bot and live agents.
Make sure to enable the checkbox 'Enable in Chat' in the settings of all departments which you want to use in Chat: https://[workspace].zendesk.com/chat/agent#departments.
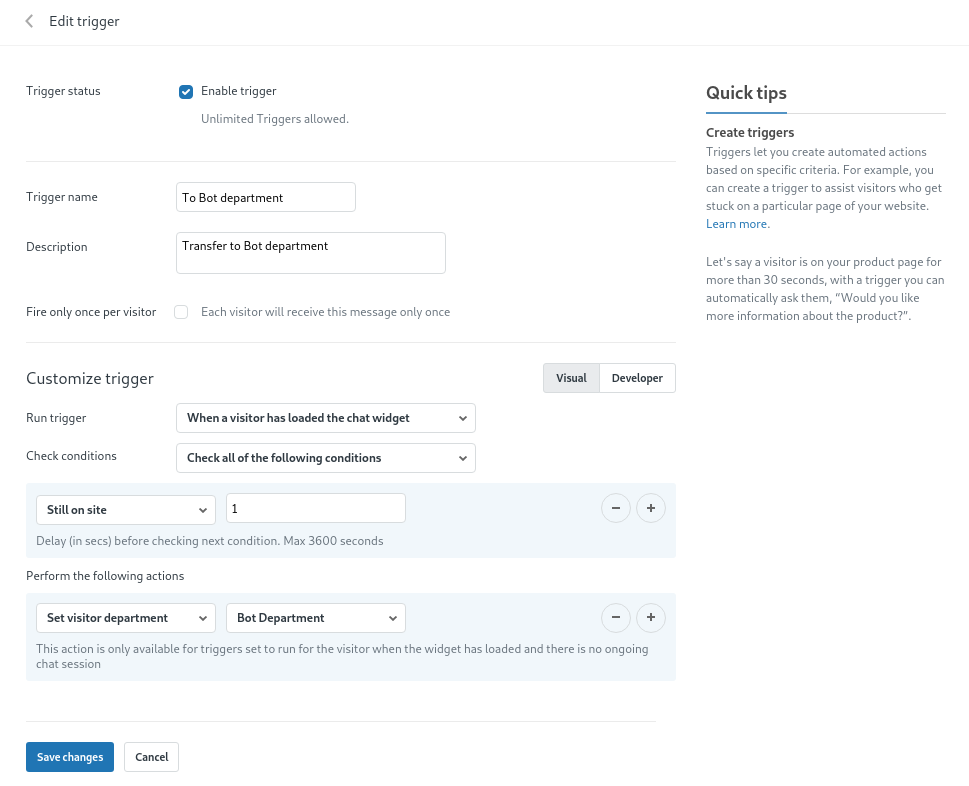
Step 4. Create a trigger
Go to https://[workspace].zendesk.com/chat/agent#triggers (replace [workspace] with your own Zedesk project name).
Create a trigger, specify a name, description and configure other settings as shown on the screenshot:
Step 5. Create an API Client
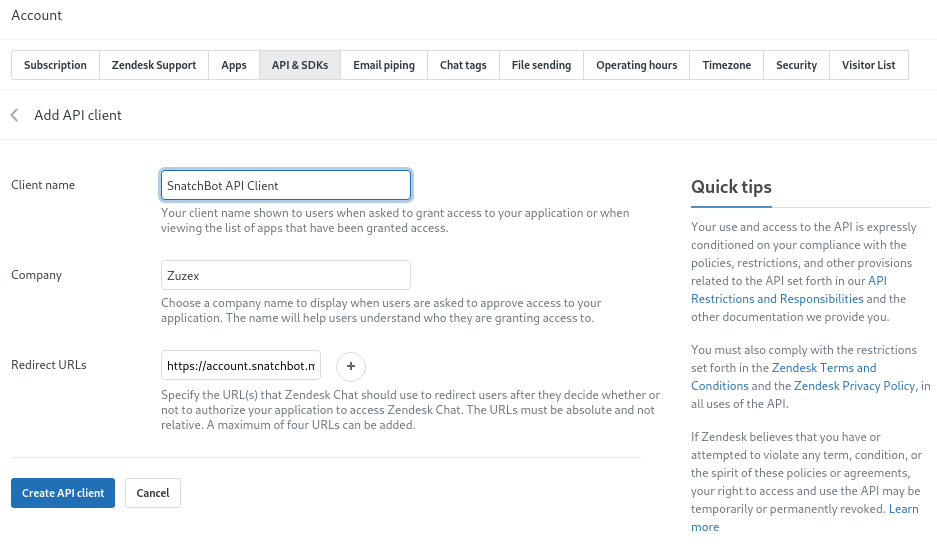
Copy Redirect URL from the Channels->Zendesk tab.
Go to https://[workspace].zendesk.com/chat/agent#account/api_&_sdks (replace [workspace] with your own Zedesk project name).
Click Add API client, specify client name, company name and paste Redirect URL.
Click Create API Client:
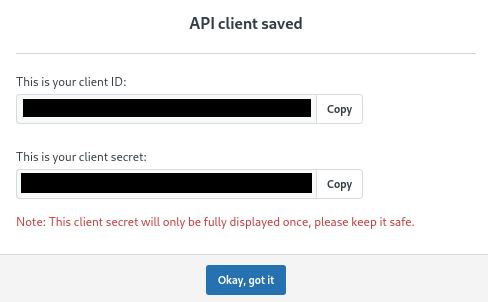
Step 6. Save Client ID and Secret credentials
Step 7. Paste API credentials
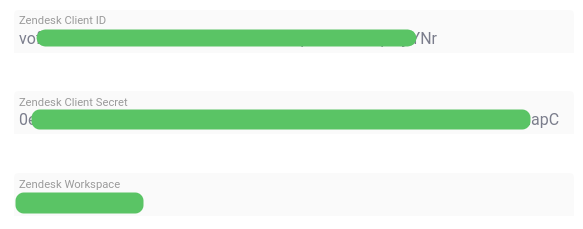
Paste Client ID, Secret and workspace name in the relevant fields in the Channels->Zendesk tab:
Step 8. Grant us the permission
Log in as the bot agent into Zendesk.
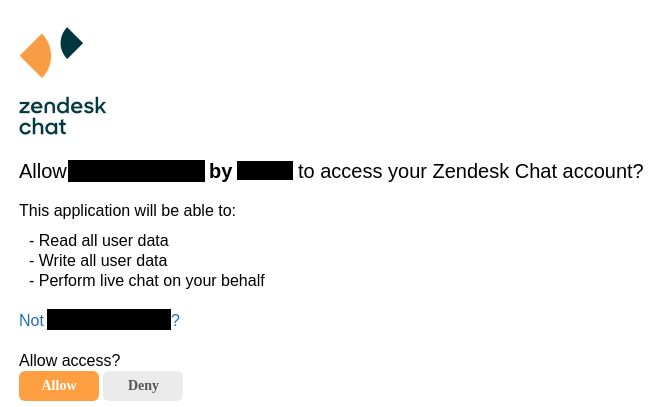
Click Deploy the Channels->Zendesk tab. You will be redirected to the Zendesk login page. Log in and grant us permission to access the Zendesk application:
Step 9. Select live department
In the Channels->Zendesk tab, choose the department to allow switching between a bot and a live agent (only for enabled Zendesk channel).
Also, specify a command that will be used to switch conversation from agent to bot, once the agent finished the conversation.
Step 10. Embed a widget
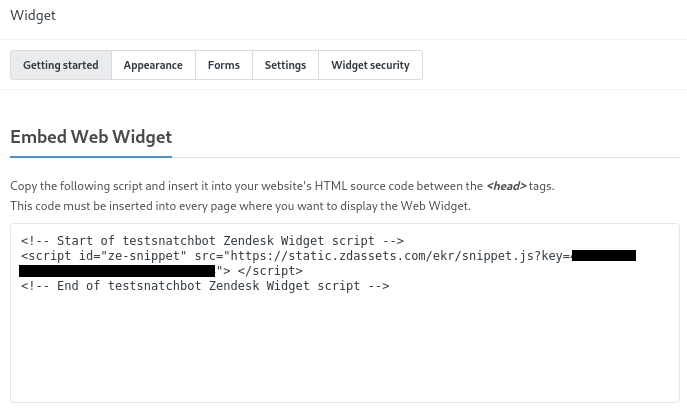
Open this page: https://[workspace].zendesk.com/chat/agent#widget/getting_started
Copy the widget code from the Embed Web Widget section.
Paste the code into your HTML page.
Done! The bot is now connected to your Zendesk Chat.
Updated almost 4 years ago
