Email Bot
Creating an Email bot is easy.
With suitable configuration, your bot can communicate with users via an exchange of emails, in addition to other channels.
To start with, please create your bot (you can also use an existing bot):
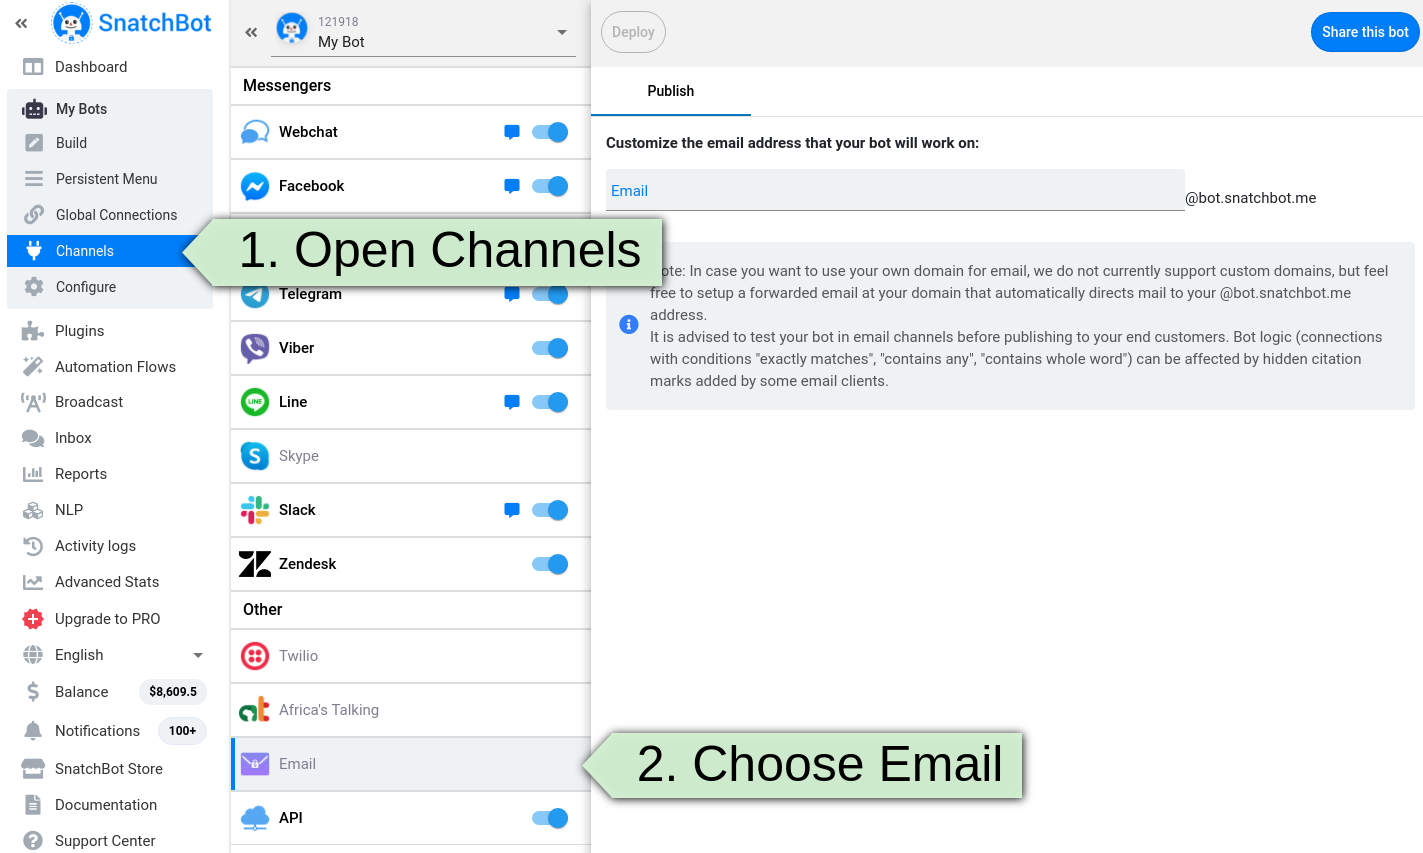
After this is done, go to the bot’s settings and open the Channels section. In the next panel, you will see an ‘Email’ channel:
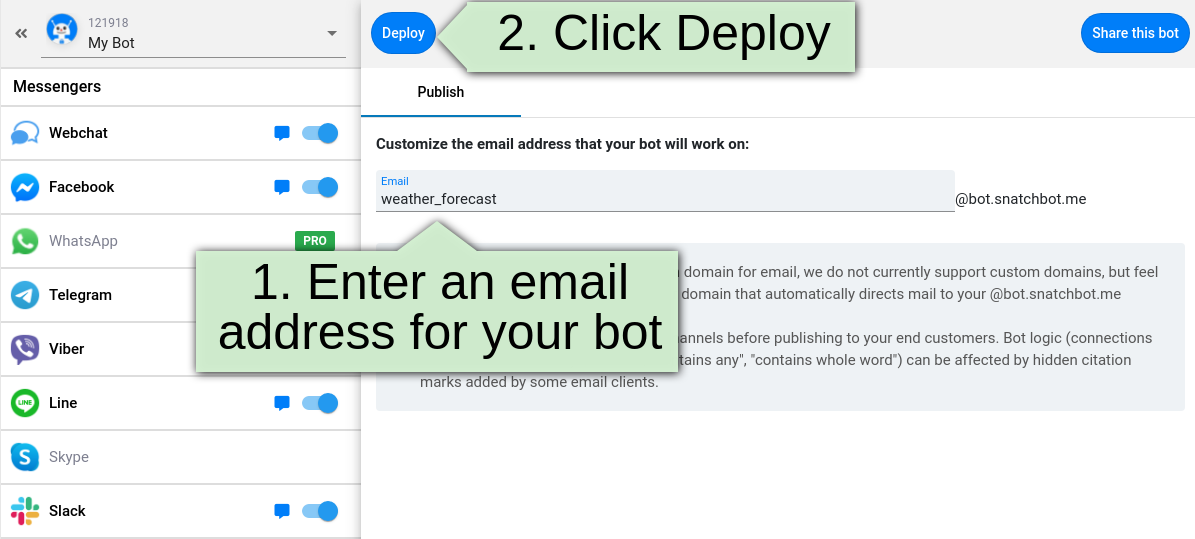
After that, you will be required to make up an email address for your bot to work with on our channel (for now, the platform does not support custom domains). Click Deploy to publish and deploy the channel:
Test your chatbot
You can test how it works: just click the ‘Send E-mail’ button next to the channel’s title:
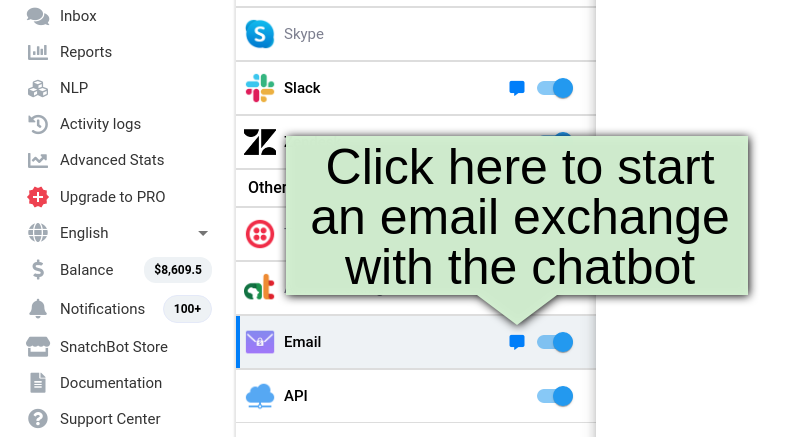
A new email will be created using your default email application set by the system (e.g. Outlook). Your bot will be specified as the email recipient. You can then exchange messages back and forth (the results of which you can see in the Reports and Inbox sections).
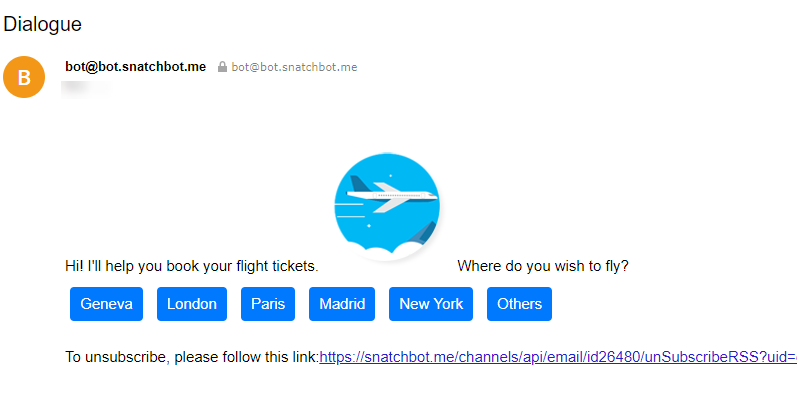
After receiving an email, the user can continue the conversation via an exchange of emails:
Switching from Webchat to Email
It is possible to switch to the email channel inside Webchat. To do so, the user has to click the button in the upper-right corner of the window and select the Email channel:
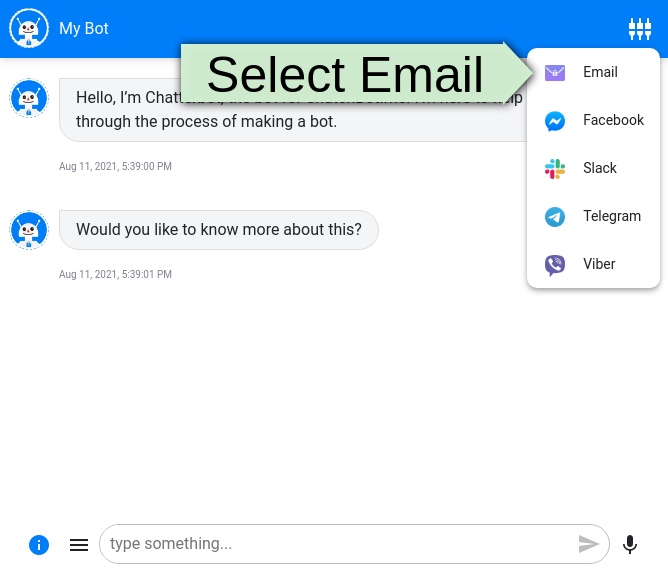
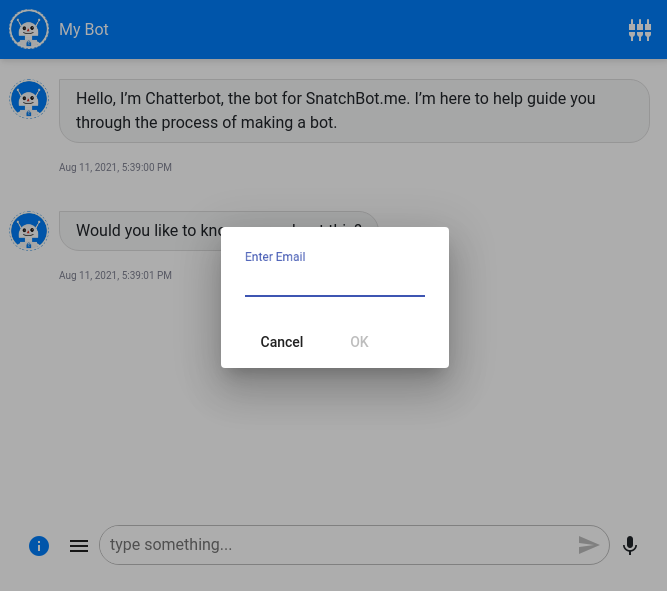
Afterwards, the user will be asked to enter an email address to which the bot will send an email:
Some restrictions:
- The STT feature is not available for Email.
- The Persistent Menu is not available for Email.
- The Giphy plugin is not available for Email.
Now we are done, the bot is ready to use.
Watch this video tutorial "Email bot"
Updated 12 months ago
