Actions with plugins within a bot
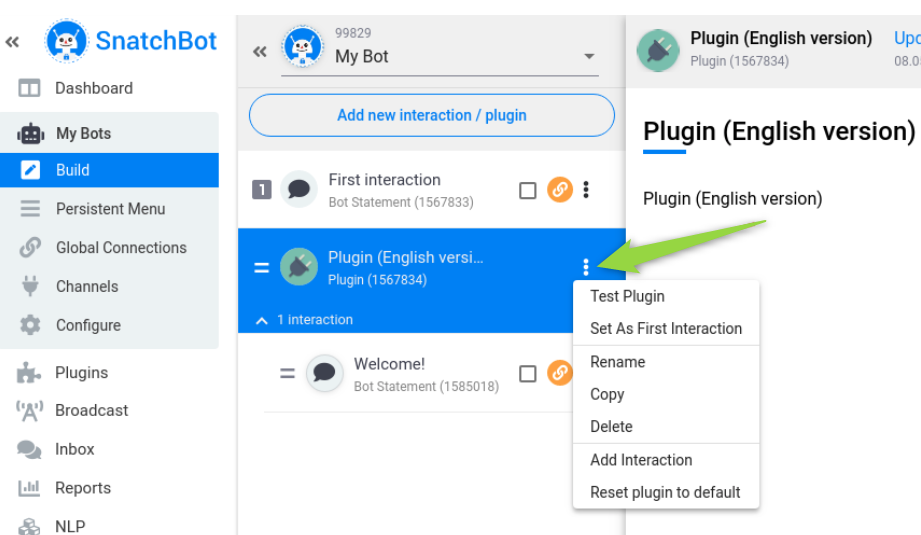
After adding a plugin to the bot, you can do the same actions with it as with the interactions, and also:
Add interaction: add a new interaction to the plugin. All the existing types of interactions are available.
Reset plugin to default: reset the contents and structure of the plugin to the version that was added initially.
In all the interactions of the plugin, you can edit all the elements in all the tabs. It should be noted that in the Extended API interaction editing some elements set by the plugin creator can be restricted (for example, URL and keys for third-party services where the plugin requests are sent can be inaccessible for editing).
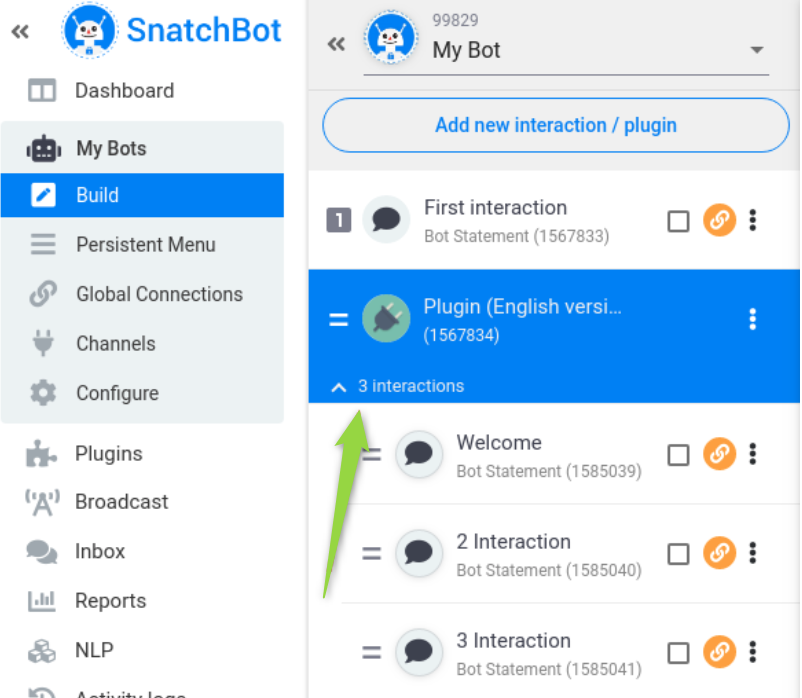
The number of interactions being in the plugin is displayed at the bottom of the plugin cell. Click on the counter to see and edit plugins interactions - the list of interactions will appear:
Plugin Page
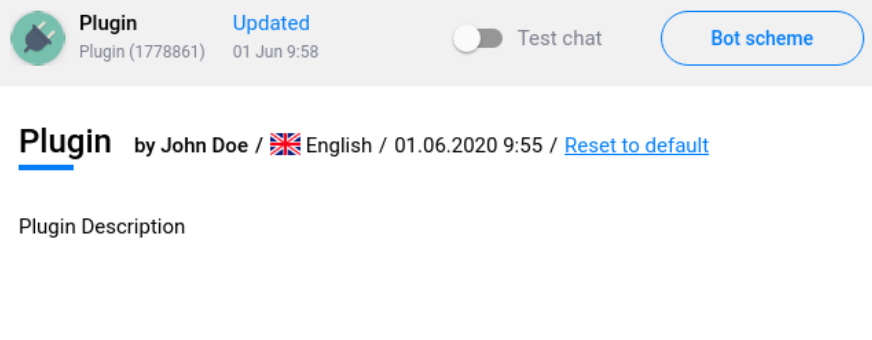
Plugin Configure
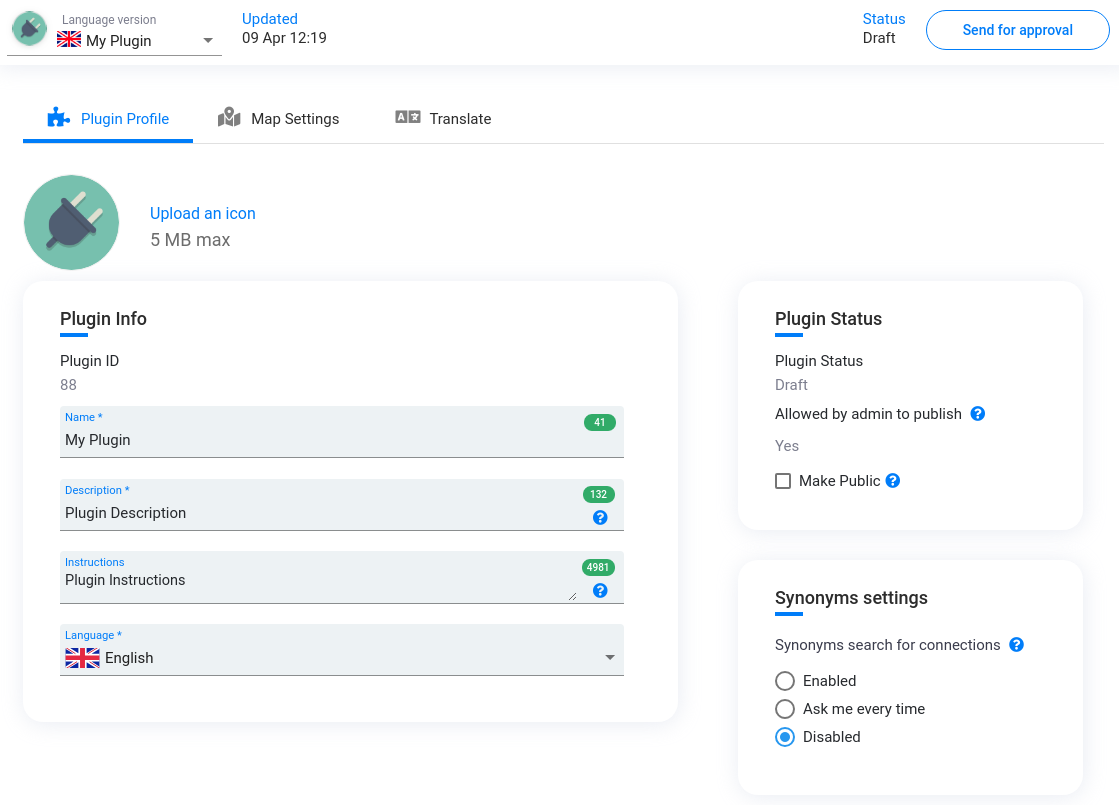
The tab contains the following fields and elements:
Plugin Info
- Plugin ID - the field is disabled.
- Name and Description (50 and 150 characters).
- Plugin Instructions
- Language
Plugin Status
- Rejection Reason - the comment, which the administrator can leave in case of declining a plugin. Such a comment is also displayed in the header of the page when you hover over the “Rejected” word. If the administrator leaves the comment field empty in the admin console, then the field won’t be shown in the Configure tab.
- Allowed by admin for publishing (Yes / No)
- Make public: allow other users to use the plugin. The plugin creator has to set the value and select at least one category. If the boxes aren’t marked, then ONLY the plugin creator can use the plugin.
Plugin Status
- Plugin Status (draft / on moderation / approved / rejected)
Plugin visibility
There are 3 conditions that make the plugin available in the “Add plugin list”:
- A plugin has to be approved by an admin. Plugins that have their statuses like “draft”, “on moderation” or “rejected” will never appear on the add-to-the-bot list.
- A plugin has to be published by an admin. By default all the plugins are allowed to publish, but if an admin unpublished the plugin manually, it becomes unavailable for anyone even if the status is “approved”.
- A plugin creator has to check the “Make Public” box in the Configure section of a plugin. If both conditions cited above are fulfilled, then Make Public=Yes makes this plugin available for all the users, and Make Public=No leaves the plugin available for its creator only.
In other words, a plugin will be in public access only under the following conditions:
- Status = approved (edited by an admin)
- Allowed by admin for publishing = yes (edited by an admin)
- Make public = yes (edited by a user)
If a user wants to use their plugin by themselves and restrict access of the other users to it, the plugin should be in the following state:
- status = approved
- Allowed by admin for publishing = yes
- Make public = no
Map and Translate settings
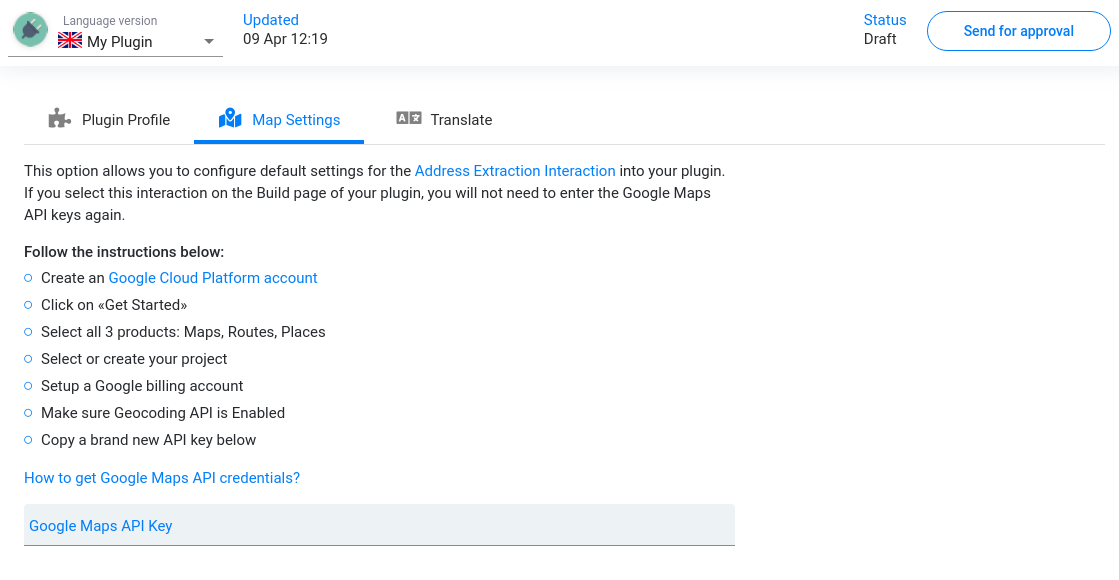
As in the Bot Configure section, you can configure default settings for the Translate and Collect Address interactions for your plugin. If you add such interactions on the Build page of your plugin, you will no longer need to enter the API keys again.
API keys from the Profile section won’t be applied to your plugins.
Updated over 3 years ago
