Facebook Messenger
Creating a Facebook Messenger bot is easy.
Snatchbot gives users the possibility to deploy a bot that will interact with people on their Facebook pages.
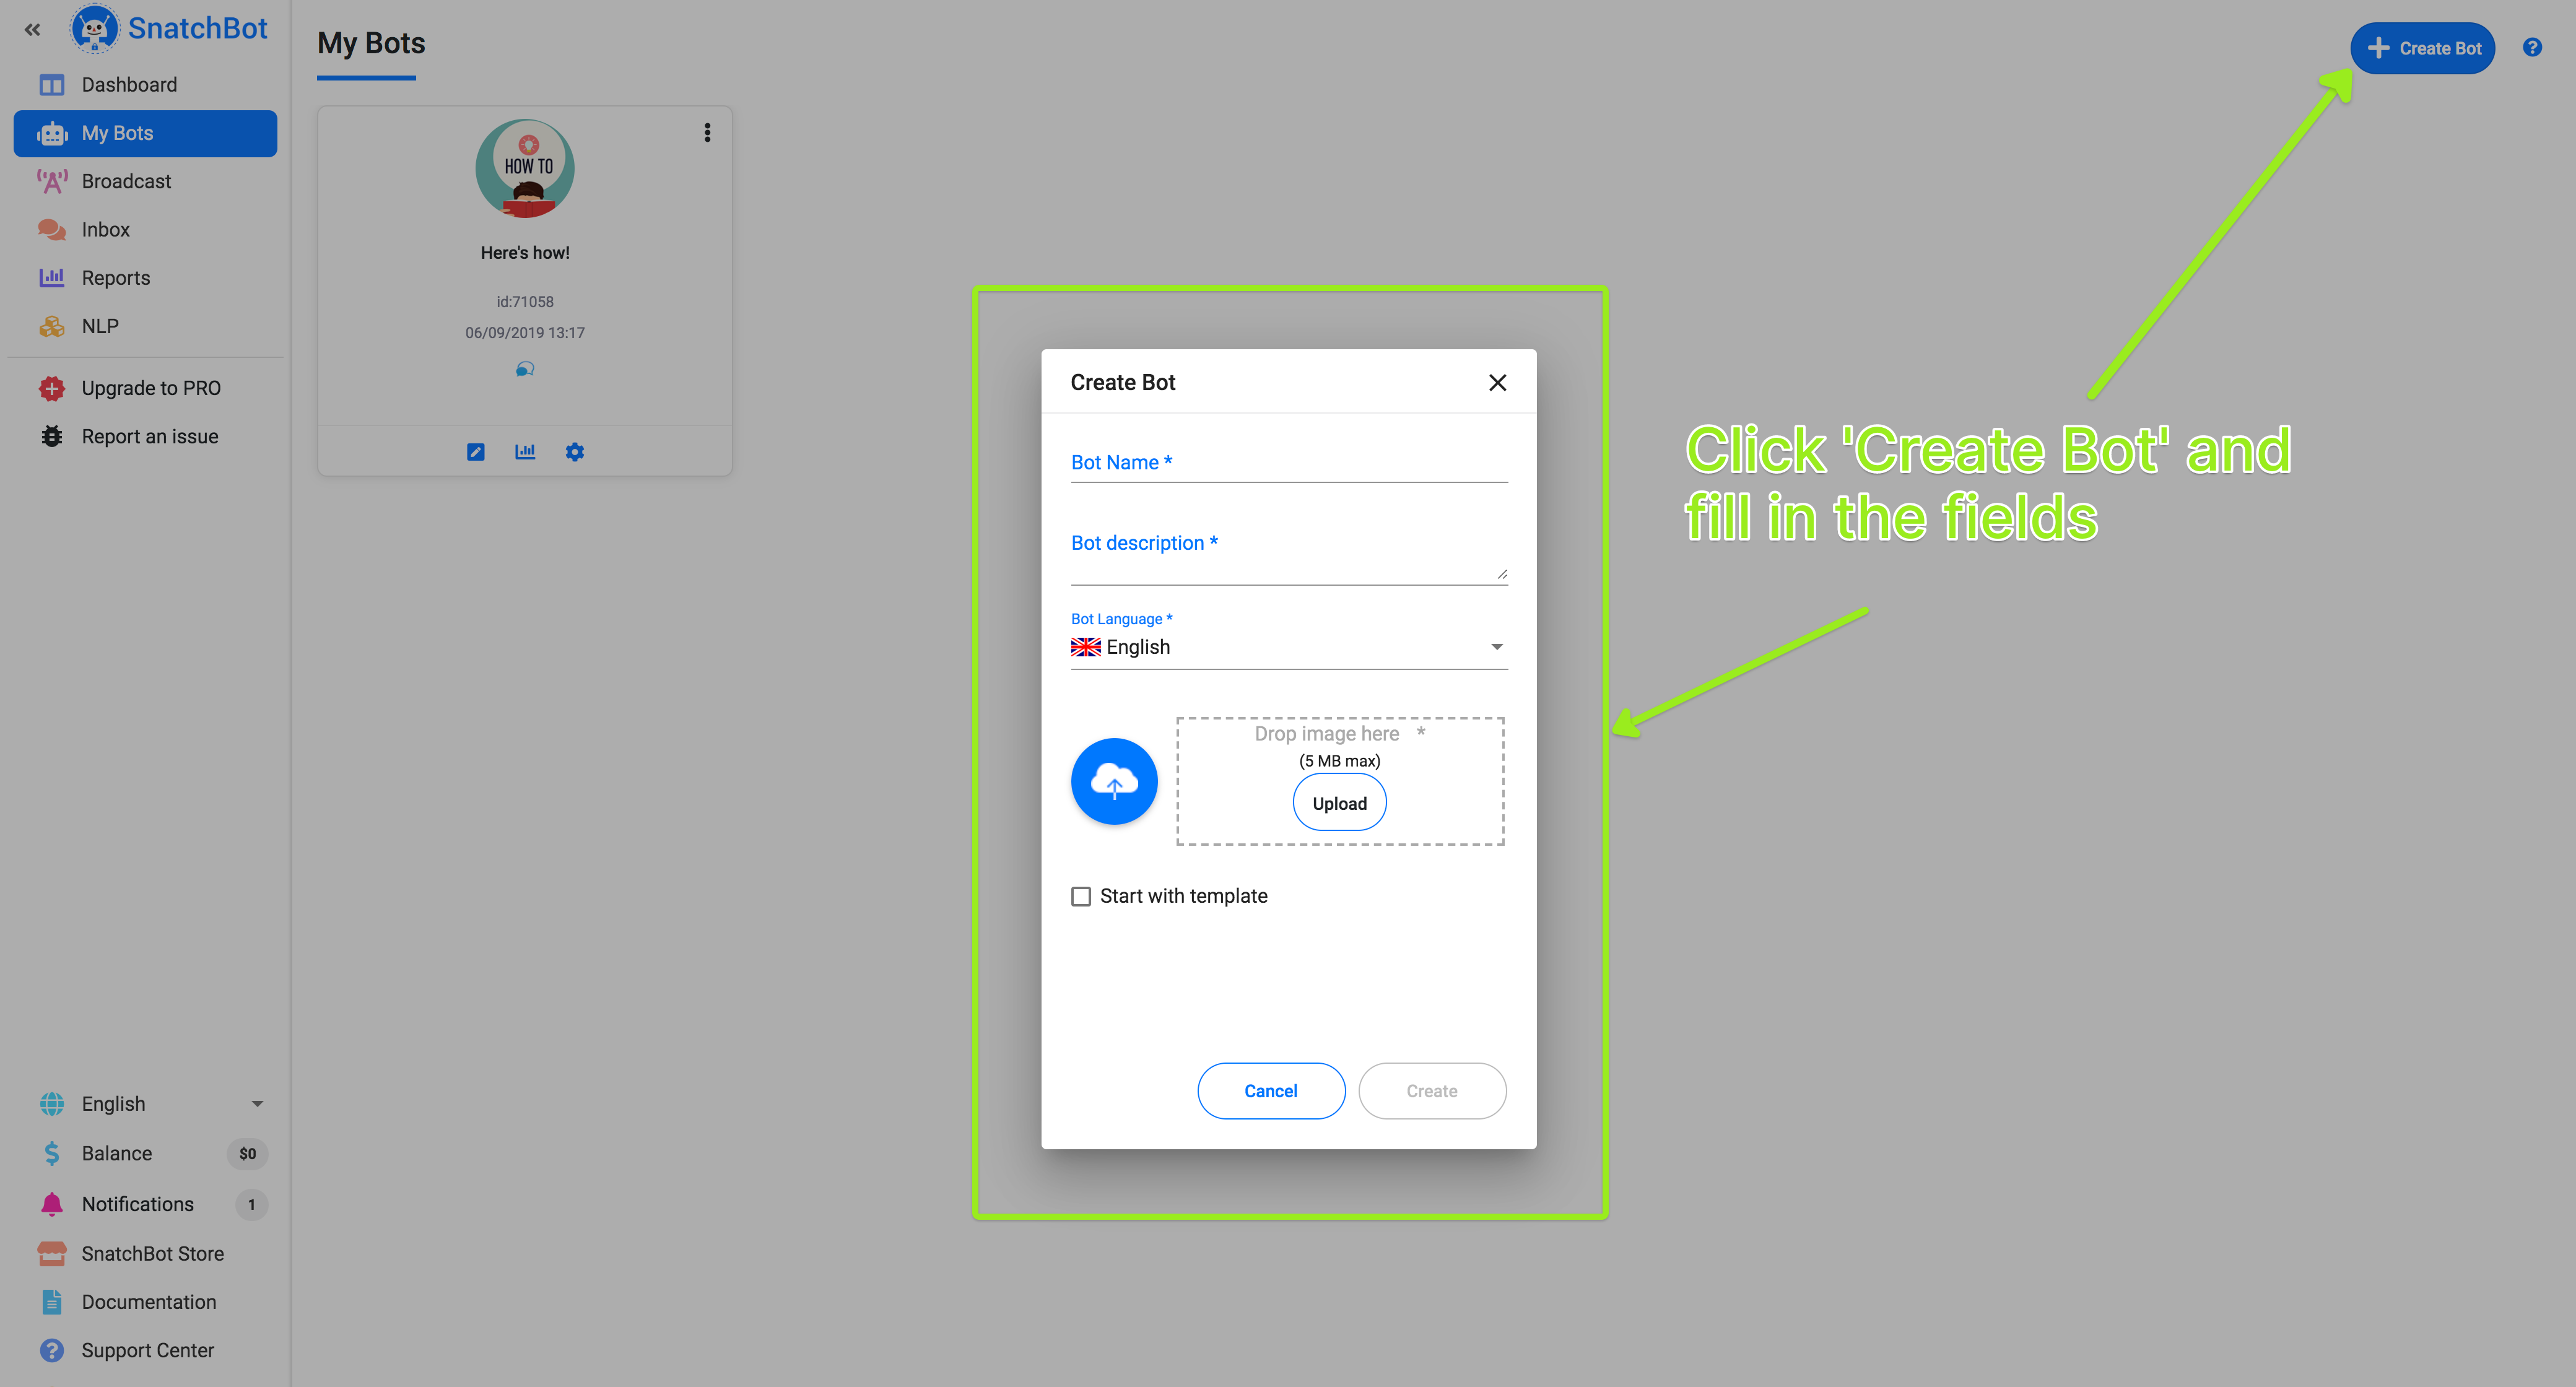
To start with, you will need to create a bot (you can also use an existing bot):
After this is done, go to the bot’s settings and open the Channels section. In the column of available channels you will see a ‘Facebook Messenger’ channel:
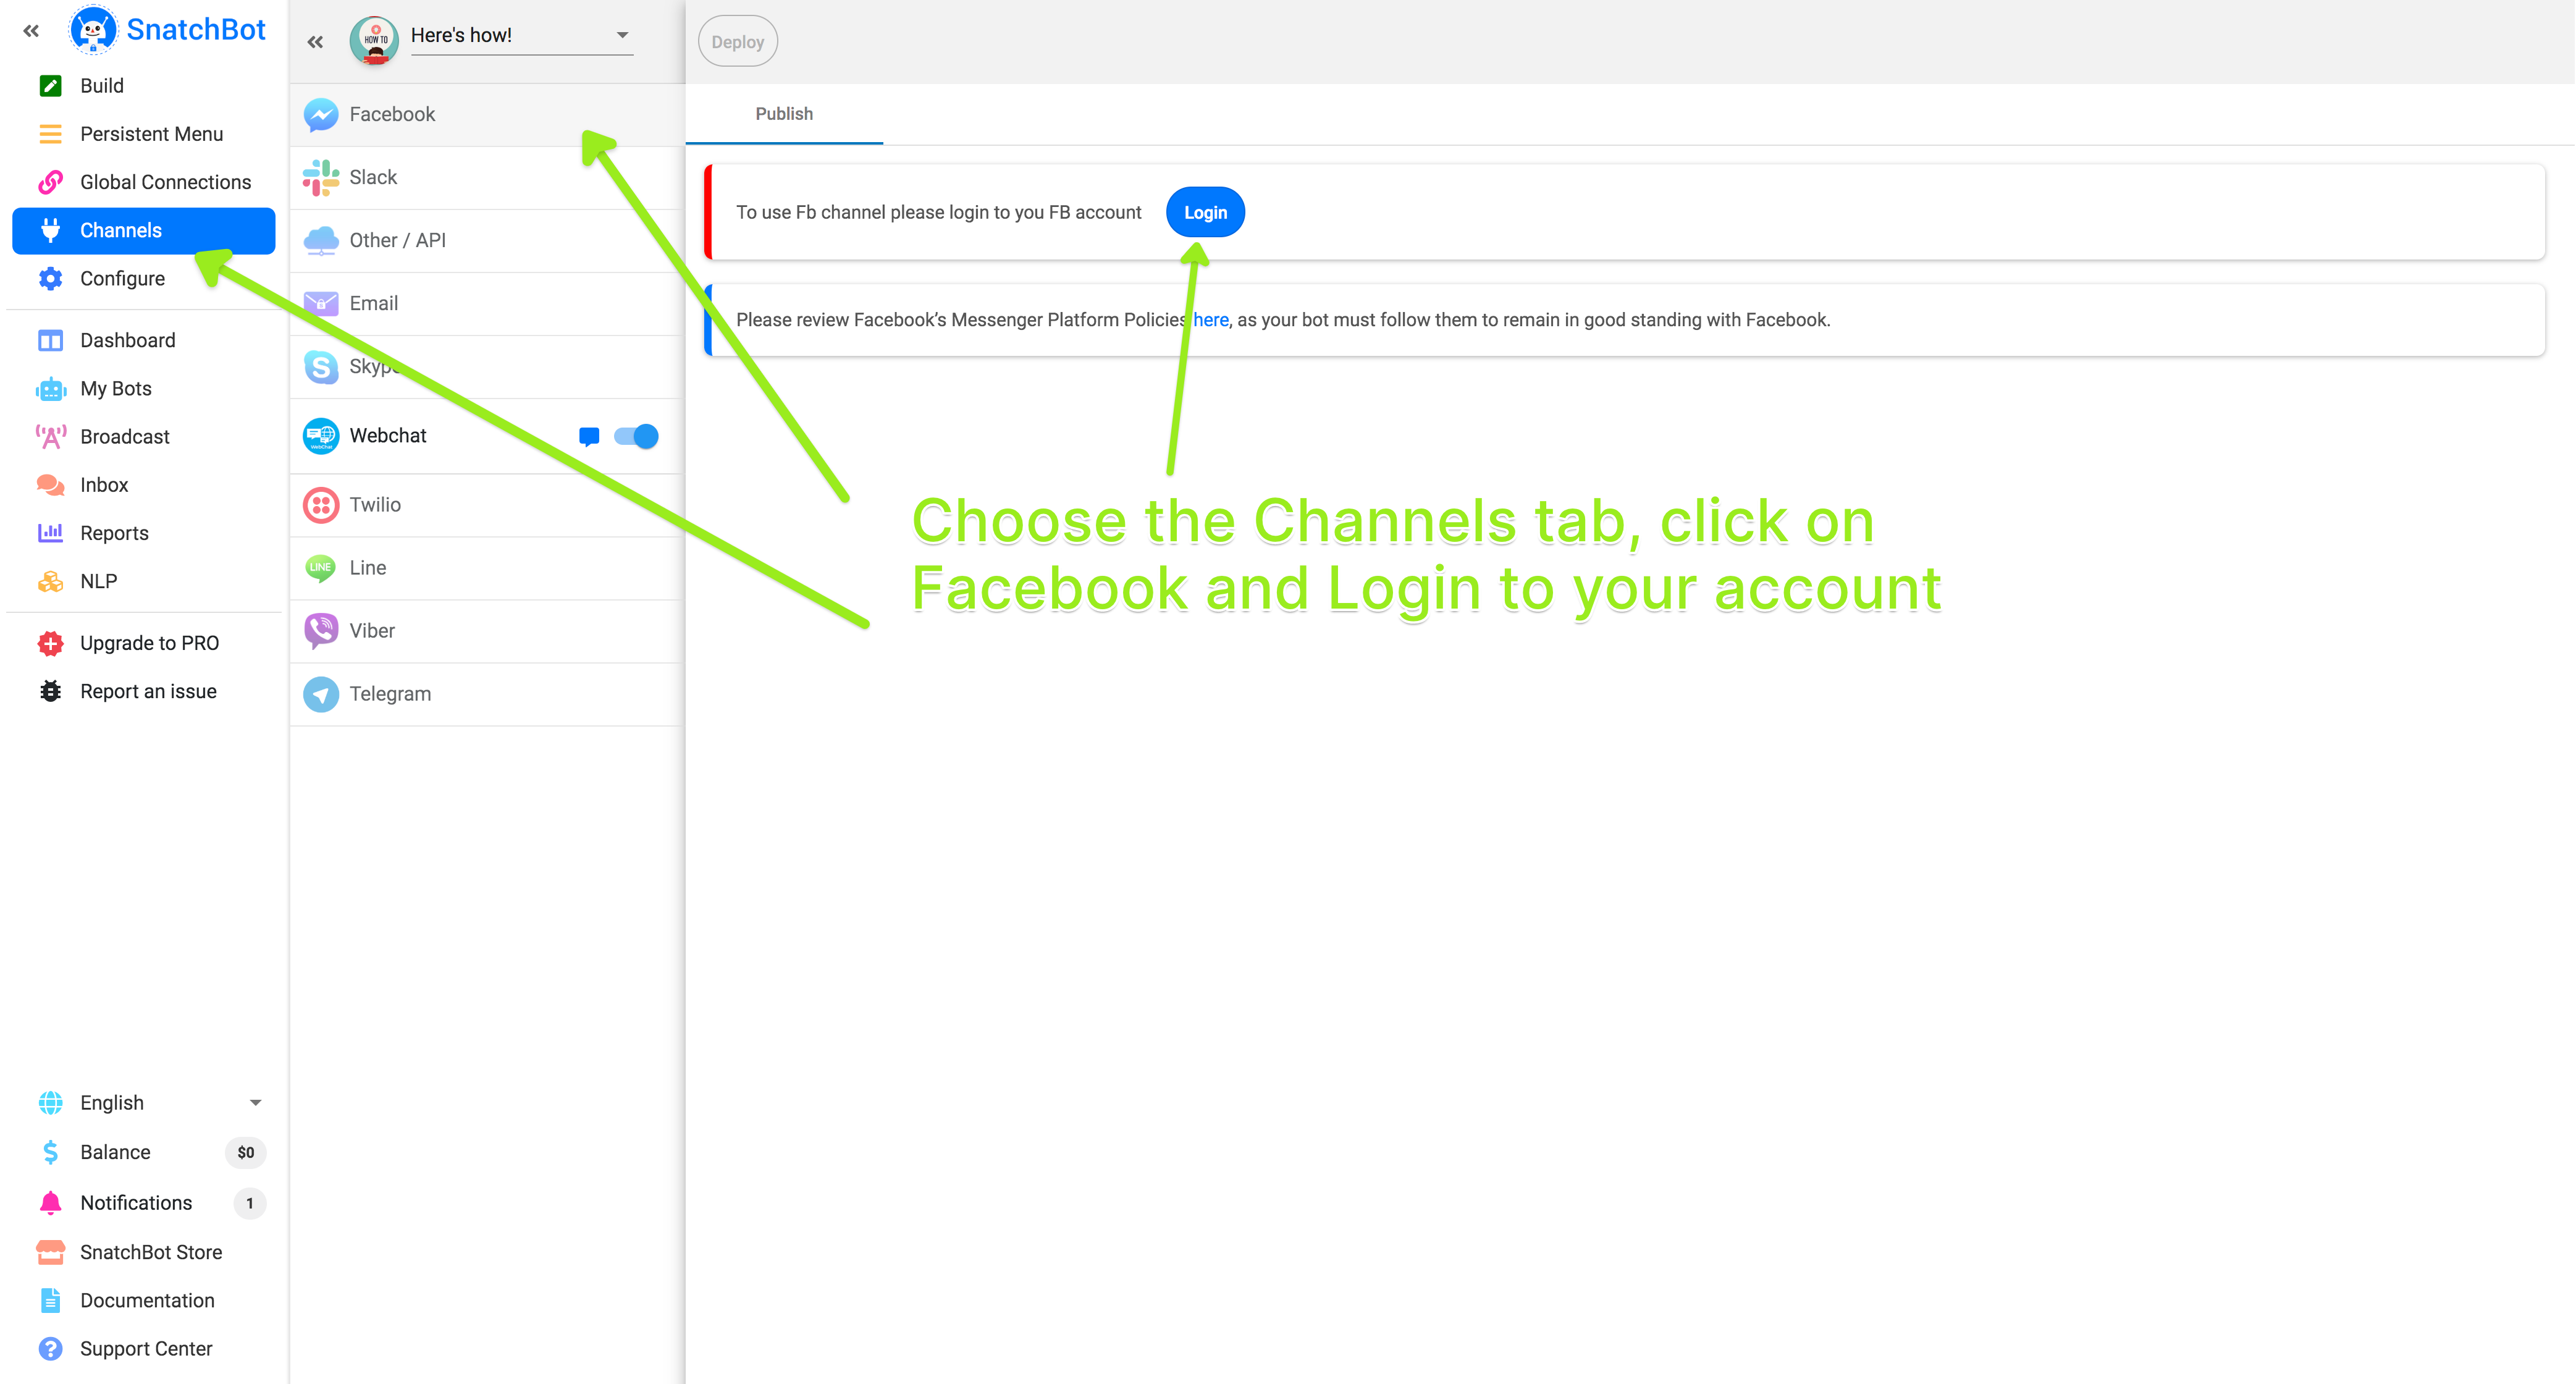
Click the Facebook option. You will be required to log in to the Facebook if you have not done this already.
After logging in, you can see a list of the Facebook pages you are managing (or create a new one by simply clicking ‘Create Page’ button).
Select the page to which you want to deploy the bot – and that’s it – the bot is ready for communication in chat.
You will see five tabs are available on this editing screen.
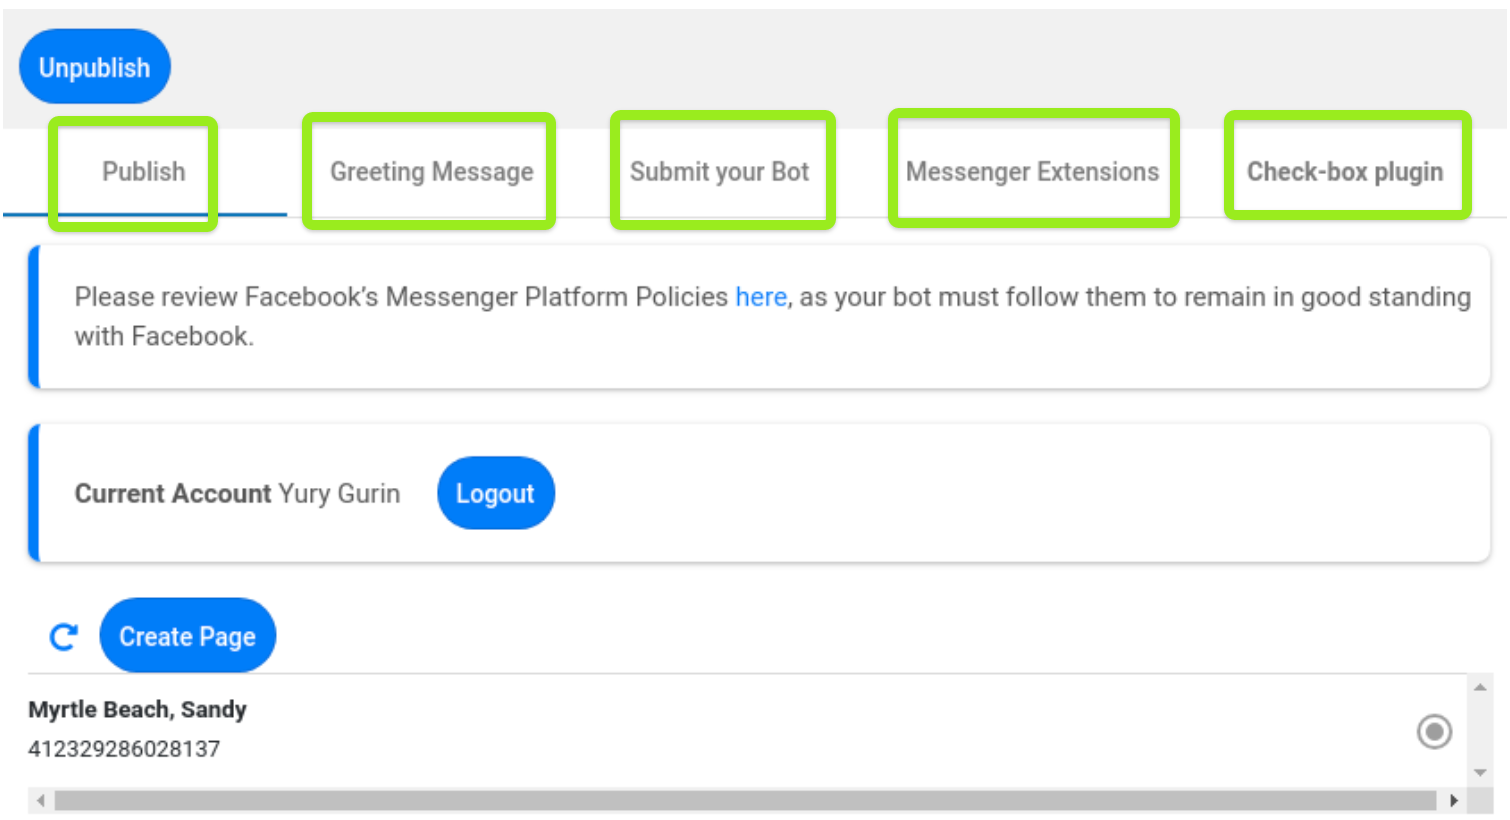
Publish
On this tab you can see a list of the Facebook pages to which you can connect the bot. If you do not have a page, press “Create page” to create one. You will be redirected to the “page creation” page. You can connect only one page to the one bot. You can switch the bot to another page.
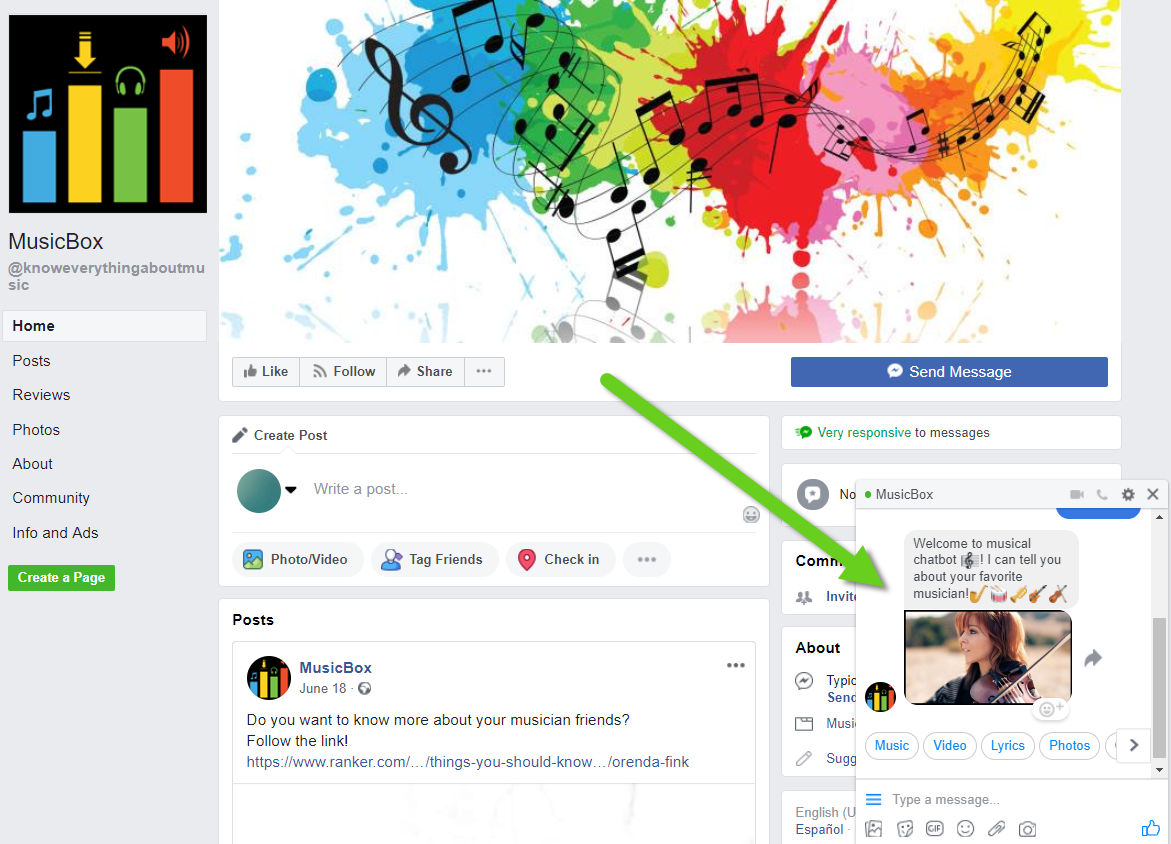
Visiting your page, a user can send a message to the bot, and the conversation will begin.
Greeting message
Here you can configure the greeting message people will see on the welcome screen of your bot. The welcome screen is displayed for people interacting with your bot for the first time. You can address users directly by using their names (provided to you by Facebook and available as attributes).
Submit your Bot
This feature is designed so that you can promote your bot within Facebook.
Discover is a new section in Messenger where people can browse and find bots, nearby places and businesses to message. Page admins who have a bot can complete this form to choose the categories where it appears, customize how it's described in search results, and decide which languages it wants to support.
Messenger Extensions
The "Send to Messenger" plugin is used to trigger an authentication event to your webhook. You can send data to know which user and transaction was tied to the authentication event, and link the user on your back-end.
Check-box plugin.
The checkbox plugin allows you to display a checkbox in forms on your website that allows users to opt-in to receive messages from your bot in Messenger. If the person is currently logged in to Facebook, their profile photo and name will be displayed next to the checkbox. If the person is not logged in to Facebook or wants to log in as a different user, they can do so.
Customer chat plugin
Let’s see how it works!
Visiting your page, a user can send a message to the bot:
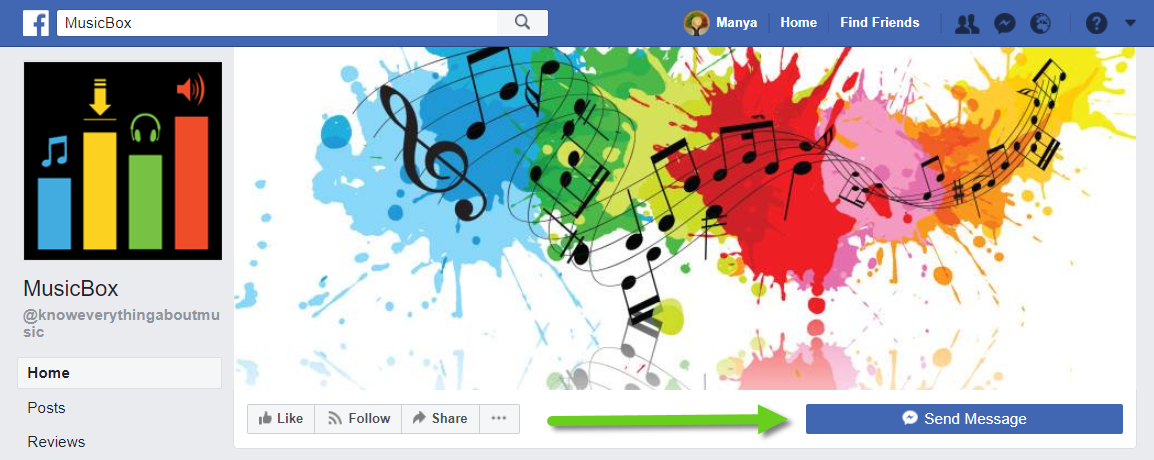
Depending on the bot’s configuration, a conversation will begin:
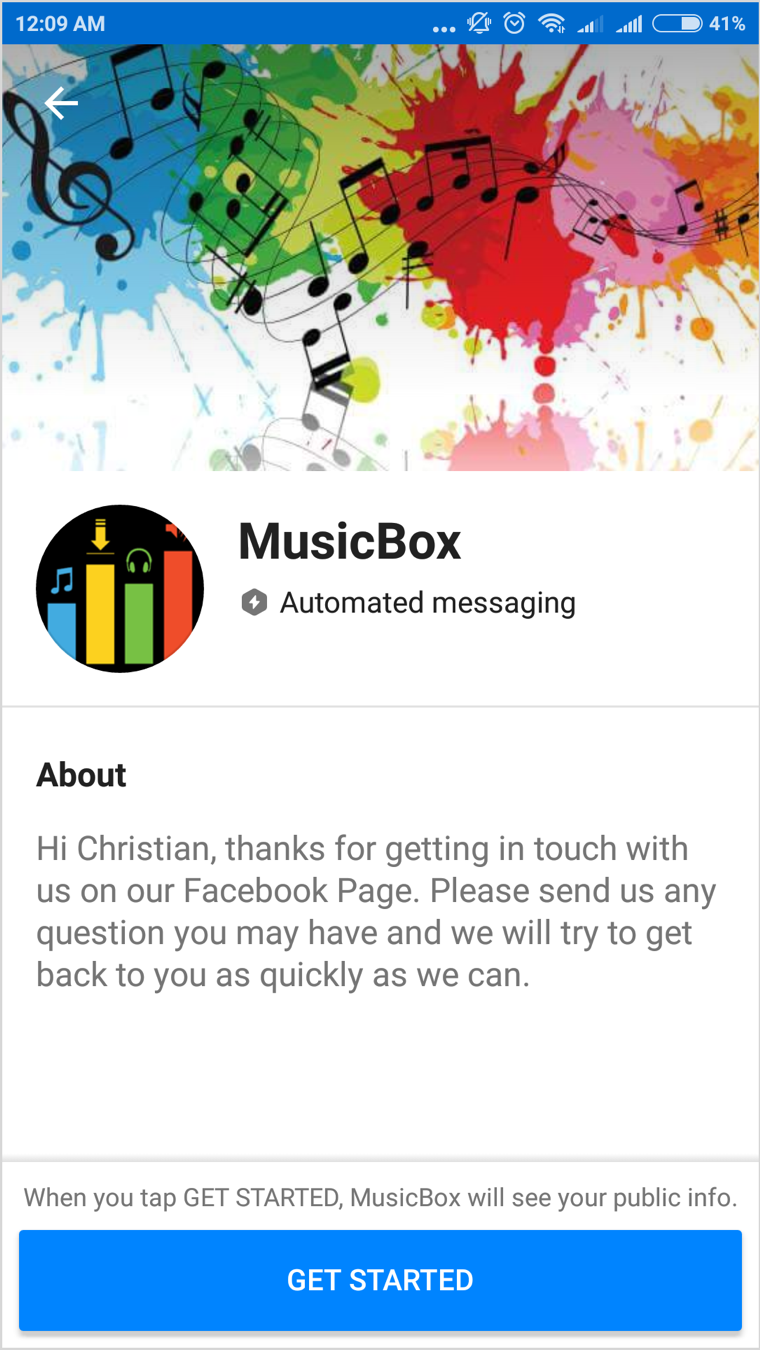
If a user connects to Facebook’s Messenger by smartphone, he or she can communicate with your bot as well:
Now you are done, the bot is ready to use. When you want to disable it on the page, edit or delete, your options are under the Publish tab.
Some restrictions:
- The following plugins are not available for Facebook: eBay, Giphy.
- Persistent Menu: the maximum number of items is three.
- The embed link feature doesn’t work on Facebook, but they can be placed in a text card instead.
- Cards and buttons: the maximum length of the “Description” field is 80 chars.
- The “Email” button is not available for Facebook.
- Facebook limits the number of Quick Replies to 11. Additional Quick Replies won't be shown.
Updated almost 5 years ago
